As a side note, please don’t think to yourself, “I’ll never enter a quilt show.” I love to see quilts of all kinds, and you probably do to. My philosophy is that if I want to see other people’s quilts, I better be willing to show my own. If no one showed theirs, there would be nothing to look at, right? Join your local quilt guild and participate in their quilt shows. It’s great fun walking down and aisle at a quilt show and, all of a sudden, seeing your own quilt on display!
Quilt Sleeve Tutorial
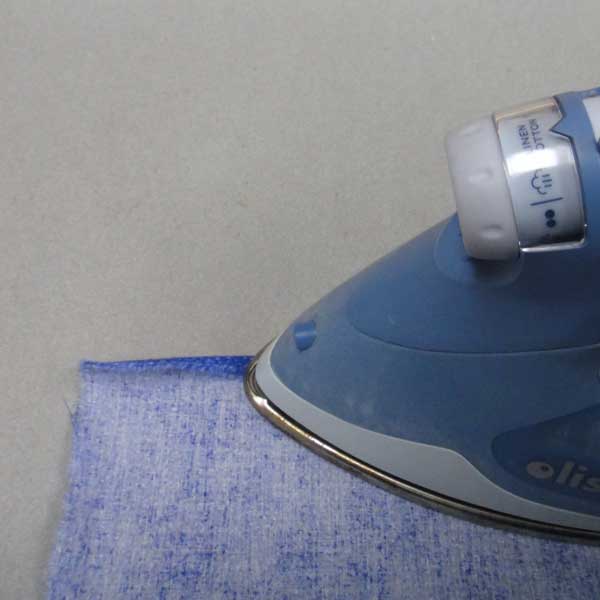
1. Tear a piece of fabric 9″ wide and as long as your quilt is wide. On the two short ends, press under 1/4″.
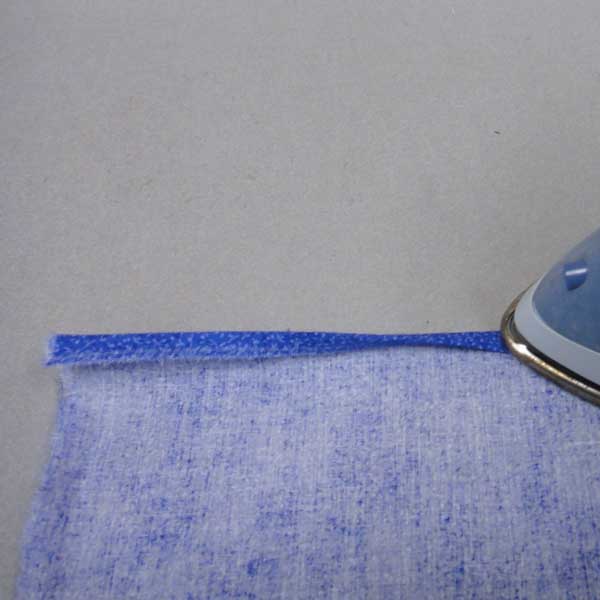
2. Press under another 1/4″ so the raw edge is completely concealed.
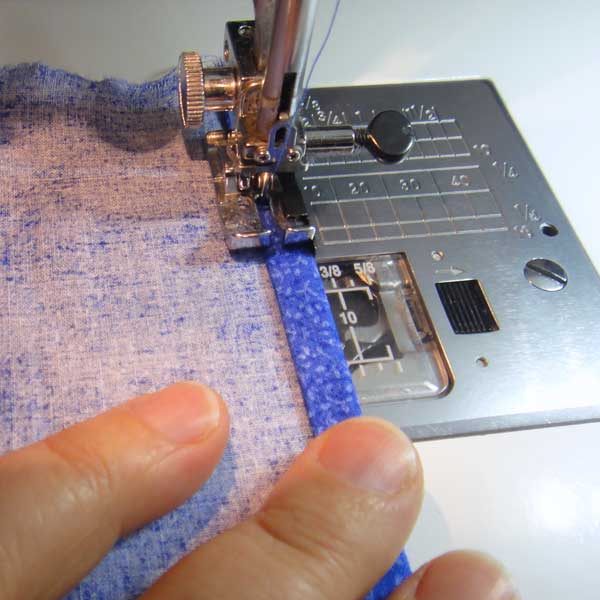
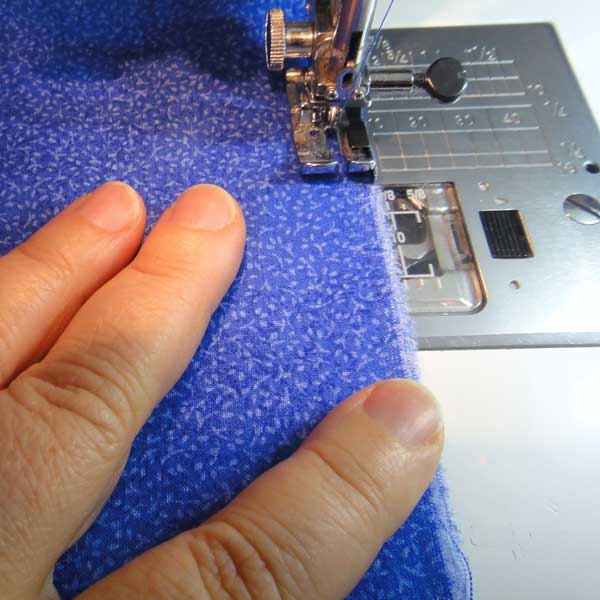
3. Stitch just less than 1/4″ from the edge close to the fold.

4. With wrong sides together, press the sleeve in half the long way. You’ll end up with a piece that is about 4-1/2″ wide and about 1″ shorter than your quilt is wide.
5. Stitch a 1/4″ seam along the long side.
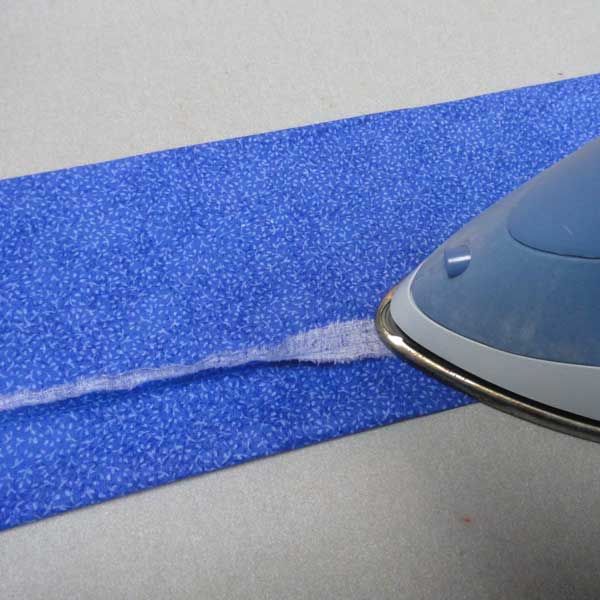
6. Rotate the seam so it is about an inch from one edge of the tube. Press the tube, and press open the seam allowance. I usually do this at the same time. The seam will be close to the bottom edge of your sleeve.
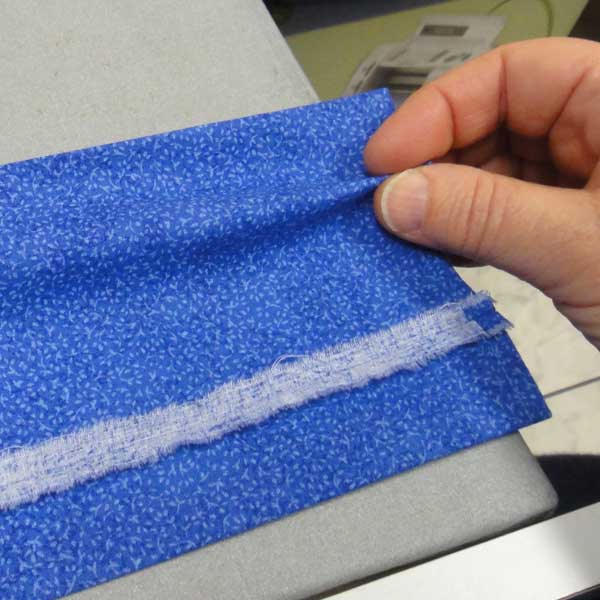
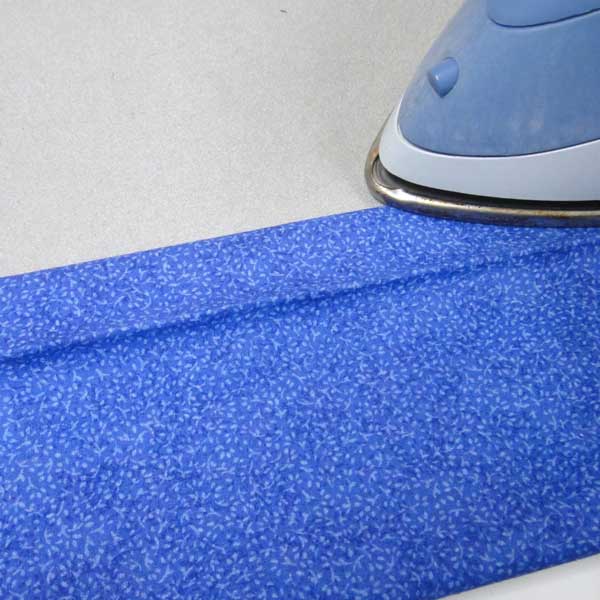
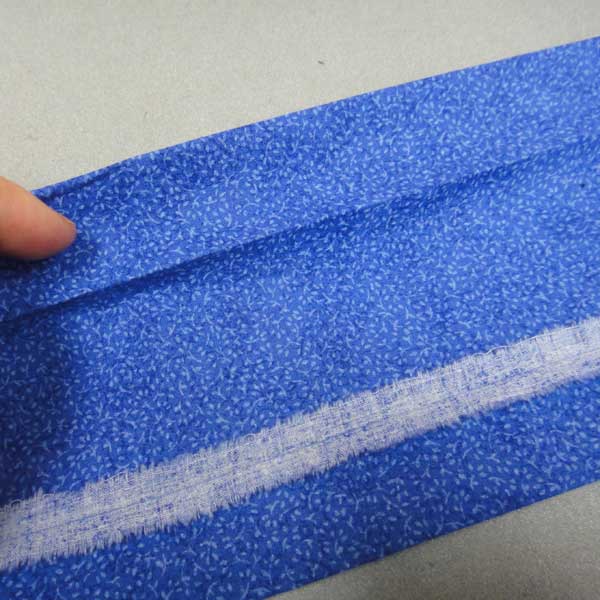
7. About an inch from the top edge, create a new fold the entire length of your sleeve. This will be a stitching line that I’ll explain later in step 12.
8. Press that new fold with your iron, being careful not to iron over the previous crease. When finished, roll the sleeve back to its original creases (the ones you made in step 6).
9. The back of the sleeve is the one with the seam allowance and the extra crease. The seam will be towards the bottom and that extra crease will be towards the top. The front of the sleeve will have no seams or creases.
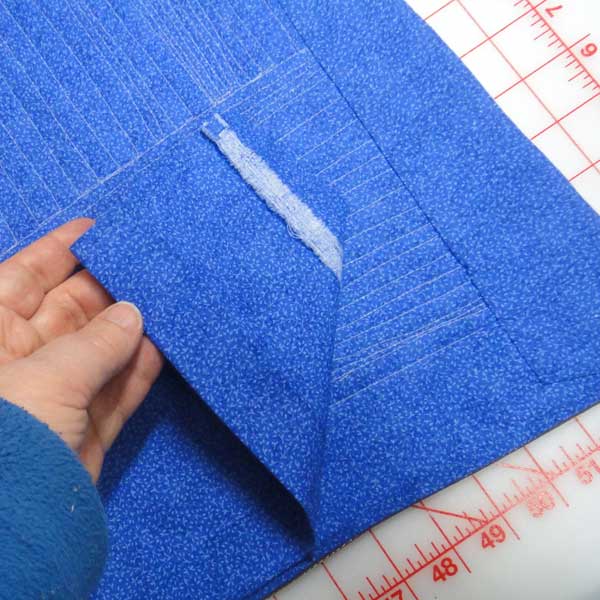
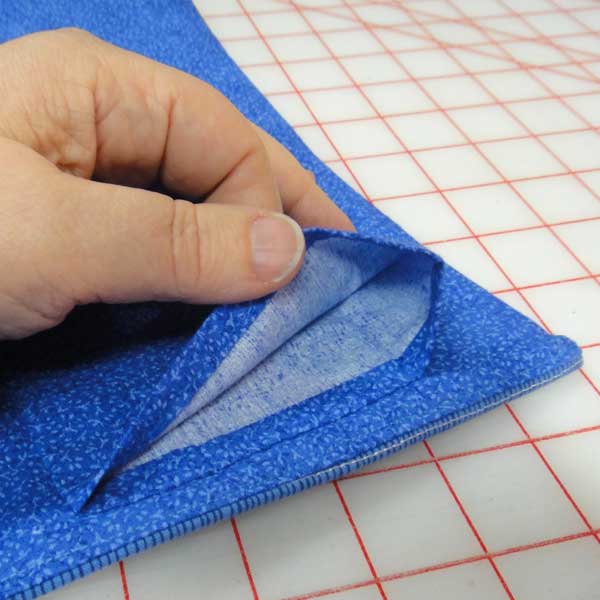
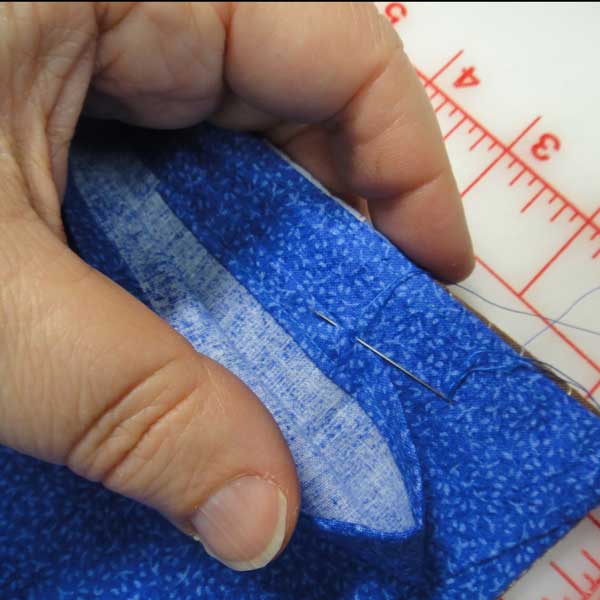
10. Position the quilt sleeve on the back of your quilt so the side with the seam allowance is facing the quilt and is closer to the bottom of your quilt. (My quilt in the photo above has the top edge closer to me. I find it easier to sew on the sleeve that way.) I usually center the sleeve from side to side. Since it is shorter than your quilt is wide, it will end about 1/2″ from either side of your quilt. Them, move the sleeve to 1/4″ from the top edge of the quilt. This is usually right next to your 1/4″ binding, but since this particular quilt has a curvy top edge, I put it 1/4″ below the lowest point.
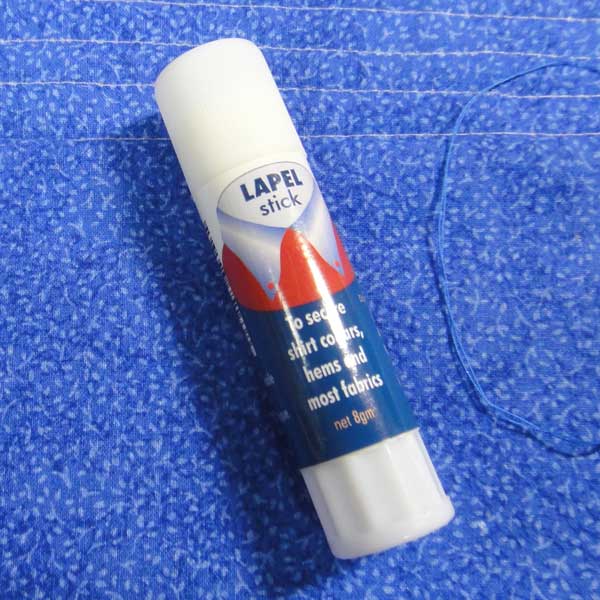
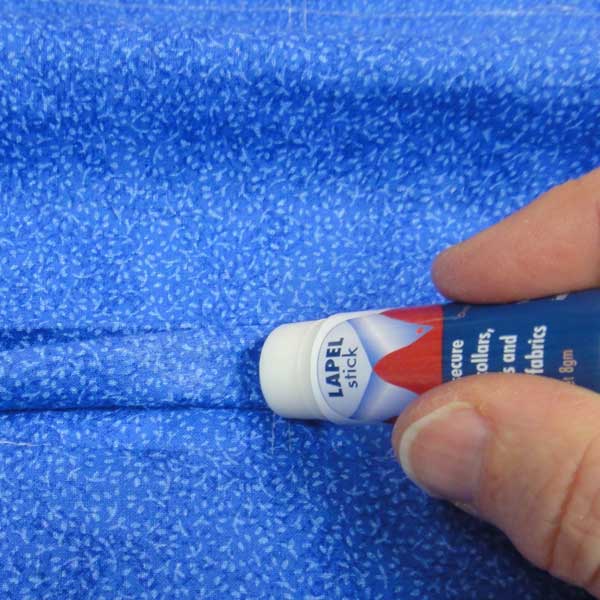
11. If you want, you can pin the sleeve in place. Lately, I’ve been using a glue stick called Lapel Stick. (No affiliation.) It is quick and easy, and my thread doesn’t get all tangled up in straight pins when I’m sewing.
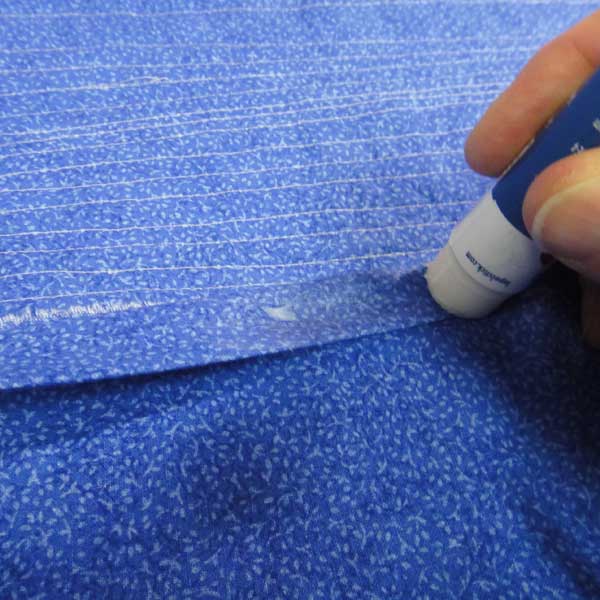
12. Apply the glue stick a few inches at a time and press down firmly. If you try to cover too long of an area, the glue stick starts to dry before you press it in place. The glue stick usually holds the sleeve in place long enough for me to sew it down without getting stuck by straight pins multiple times. I start by gluing just the bottom edge of my sleeve and about halfway up the sides.
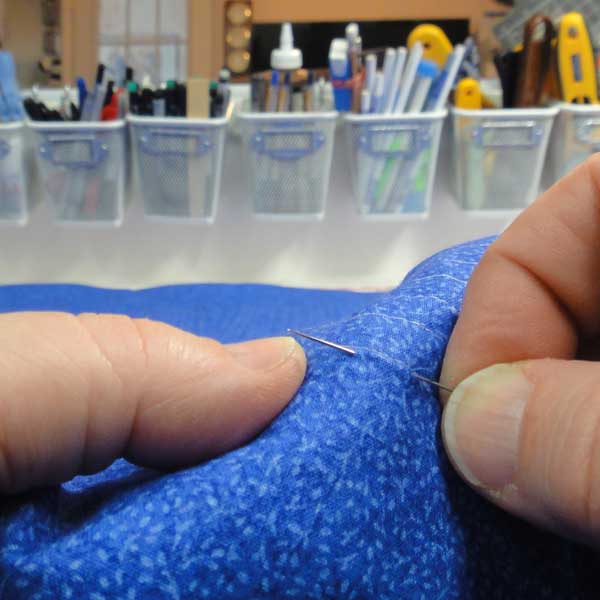

13. Hand sew the sleeve in place, starting on the right side at the extra crease you made in step 7. You’ll continue stitching down the right side, along the bottom, and up the left side, stopping at the extra crease.
14. Try not to make really big stitches. I aim for about six to eight stitches per inch. Also, make sure none of your stitches go all the way through to the front of the quilt.
15. When bringing the needle through the sleeve, I try to pick up just a few threads at the very edge, in the crease.


16. Once you’ve stitched the two sides and the bottom, then you can smooth down the rest of the sleeve. This time, instead of stitching along the top edge of the sleeve, roll that back and stitch along that extra crease that you made in step 7 instead. I like to use a bit more glue stick to hold it in place. Stitch as before, catching just a few threads along the crease.
17. Once you’ve completely stitching, fold the top edge of the sleeve back in place and press everything flat.
18. You end up with a nicely finished quilt sleeve with no raw edges exposed and with extra fullness toward the back to accommodate the hanging apparatus.
Comments
4 responses to “Tutorial: adding a hanging sleeve”
Wow! Don’t know how you did it, but the page/s load in 3 seconds. So much better.
And nice job on the tutorial too!
Elsie
Thanks! Hope it stays faster 🙂
Thanks for the reminder on doing this…just about my least favorite job…hand work.
That’s a really good, clear tutorial. It’s such a shame when you see a lovely quilt distorted by the hanging pole because the maker hasn’t left any fullness in the sleeve. I’m just stitching down some binding now and of course the next job is a hanging sleeve and label – timely!