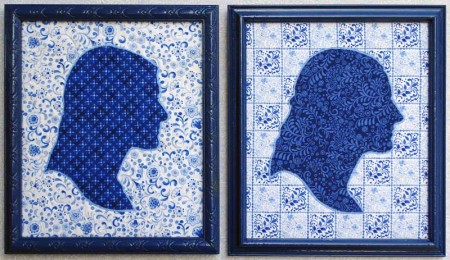
I’m always drawn to portraits of any kind, but silhouettes can be particularly interesting. It is amazing to me how much a silhouette still looks like the person portrayed even with familiar details removed. I am a little bored with the traditional black, however, so I wondered what a portrait would look like if they were made with fun fabrics and prints. Maybe I could use their favorite color. Maybe photographs of my ancestors could be done with reproduction fabrics from the era in which they were born.
When doing a silhouette, the direction the person faces is a matter of personal preference. I’ve read some historical references where it was believed that if the subject was looking to the right, they were symbolically looking forward to the future; if the subject was looking to the left, they were looking backwards into the past, perhaps reflecting or remembering.
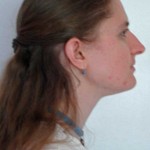
Step 2: Open your photograph in a digital editing program. Mirror image your photograph so it will end up facing the same direction as your original image. Size your picture as desired. For your first silhouette, try one that is 8”x10” so it will fit on a single piece of paper. Make sure you leave some air space around the subject. If you will be mounting your quilt in a frame, be sure to measure the opening of the frame so it will fit properly. The interior opening of an 8”x10” picture frame is typically 7-1/2” x 9-1/2” or less. If you want to save printer ink, you can erase some or all of the background.
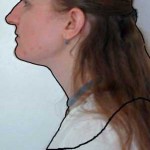
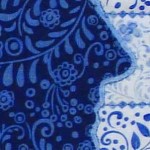
Step 6: Cut a piece of Lite Steam-A-Seam 2 the same size as your fabric. Remove paper backing and fuse webbing to the back of the dark fabric. If you are using a third fabric to create an outline, fuse a piece of Lite Steam-A-Seam II to the back of that one too.
Step 7: Remove the second paper backing from fusible webbing on your dark fabric. Using your hand, press the paper printout to the back of your dark fabric. Do not iron. Pay attention to where you position the paper pattern. You may want to position the eyes/nose/mouth area so it is not interrupted by large motifs on your dark fabric.
Step 8: Following the outline of your loved one’s image, cut out the dark fabric. Remove paper pattern. If you are just using two fabrics, go to Step 9. If you are using a third fabric, position the cut out silhouette on the third fabric and fuse. Create an outline by cutting out the third fabric 1/8” away from dark fabric.
Step 9: Position silhouette on background fabric. Fuse with a hot iron following manufacturer’s instructions.
Step 10: Position mounted silhouette on batting and backing. Quilt as desired. If you are mounting silhouette in a picture frame, quilting is optional. You could mount the finished silhouette onto foam core board and secure by inserting straight pins into the sides of the foam core board. Position in picture frame and secure. Generally, fabric artwork is not mounted in a frame with glass.
Hope you enjoy making a few silhouettes of your own!
Comments
2 responses to “Tutorial: silhouettes”
Very cool. I have silhouettes of my 3 kids done in paper cuttings. This is a great idea- very ‘sale-able’.
It’s always neat to see how others do silhouettes. I do them as a hands-on project with the subject — I let them paint their heads. I did this with a kindergarten class and they loved it. Thanks for sharing your approach.