
You will need:
- 1 yard fabric for apron
- 1 fat quarter of contrasting fabric for binding
- Fusible webbing
- Thread
- Rotary cutter with decorative blade or pinking sheers
- Rotary ruler and mat
- Scissors
- Large paper
- Piece of ribbon at least 36″ long (any color)
1. Draw the apron pattern

- Use large paper (or tape together 8-1/2″x11″ pieces of paper) to draw out apron pattern as shown.
- For underarm curve, draw a smooth curve as shown.
- For lower corners, trace around a small plate. We used a 7″ diameter saucer.
- We used the same saucer to make the curve at the top center. If desired, the top edge could be straight across.

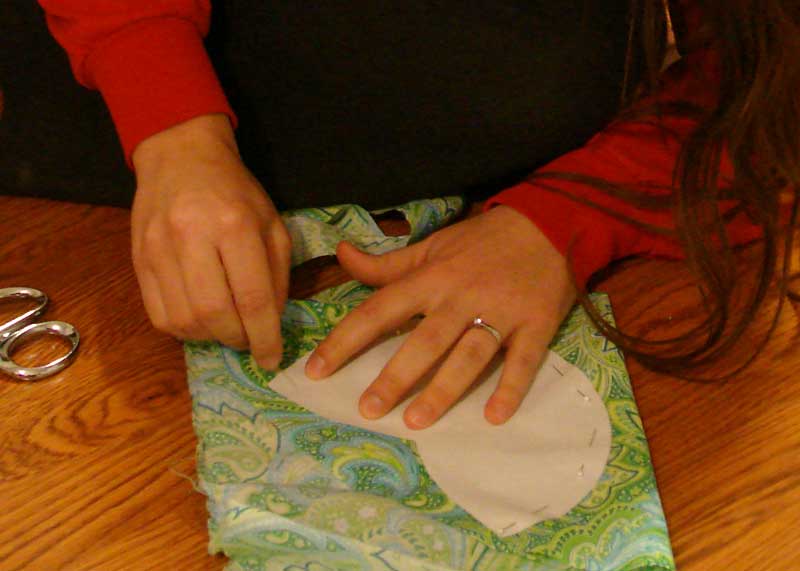
2. Draw the pocket pattern
- For pockets, place saucer on top of paper and trace three-fourths of the way around the plate.
- If desired, the top edge of pocket could be a straight line. We chose to echo the same curve as the top center of the apron.
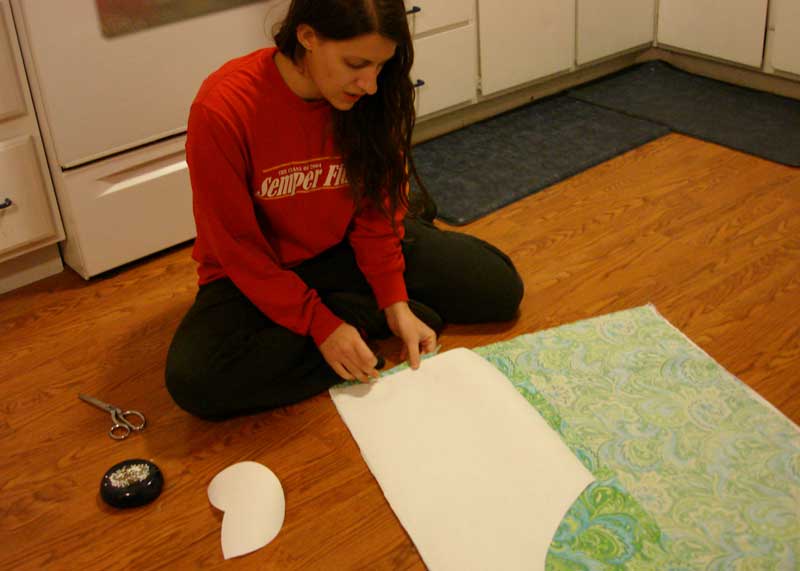
3. Cut out apron
- Fold fabric about 13″ from selvage edge. Pin apron pattern in place and cut out apron.
- For apron ties, cut two pieces parallel to selvage edge that are 2-1/2″ wide by 36″ long (the length of your fabric). For neck ties, cut two pieces 2-1/2″ wide by 18″ long.
- From remaining fabric, pin pockets in place and cut out two.

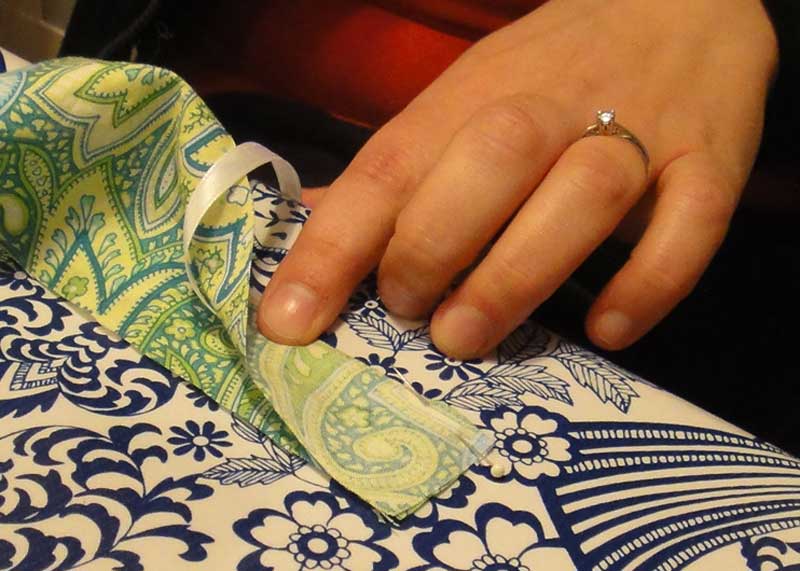
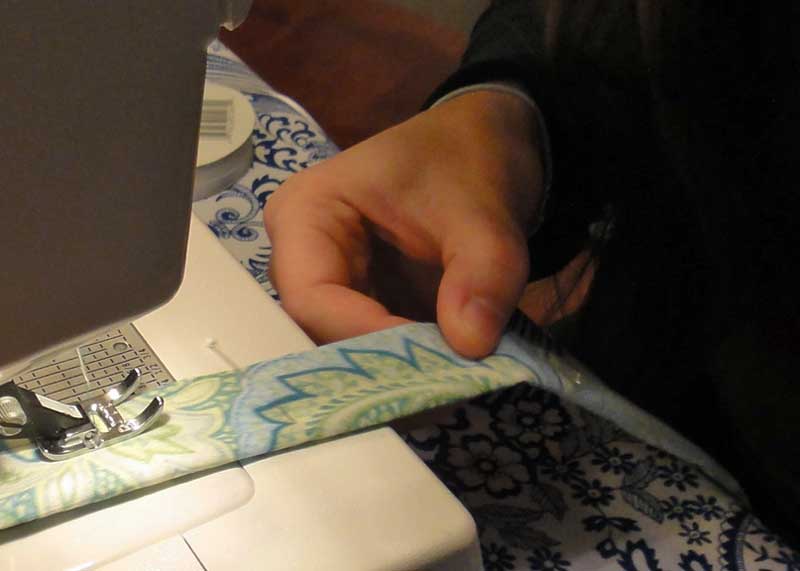
4. Sew apron and neck ties
- For apron ties and neck ties, fold strip of fabric in half lengthwise so right sides are together. Place ribbon inside at fold and pin end in place.
- Pin along length of tie, making sure the ribbon stays at the center fold.
- Stitch across width of folded tie. Make sure ribbon end is caught in the seam at the end of the tie but no where else along the length of the tie.

- At corner, pivot the tie 90 degrees and stitch along length of tie. Backstitch at end of tie, leaving last side open.
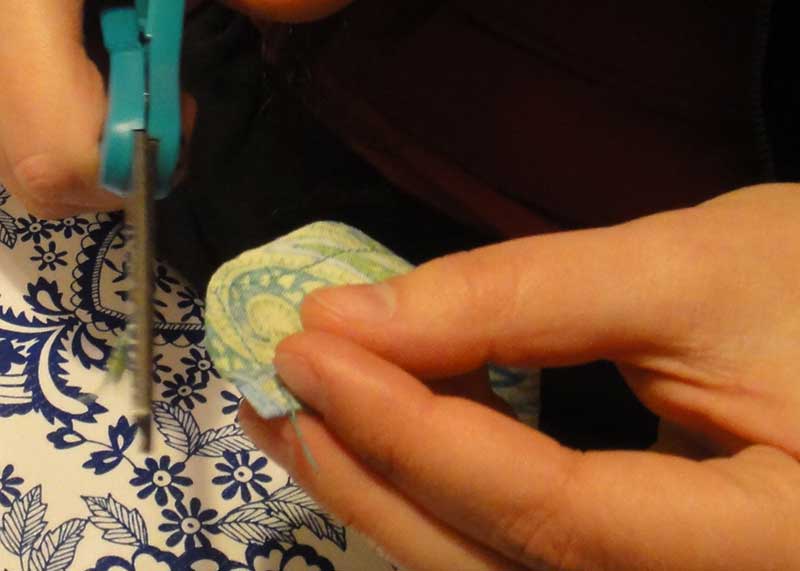
- Clip corner by where you started stitching. This reduces the bulk in the corner when you turn the tie.
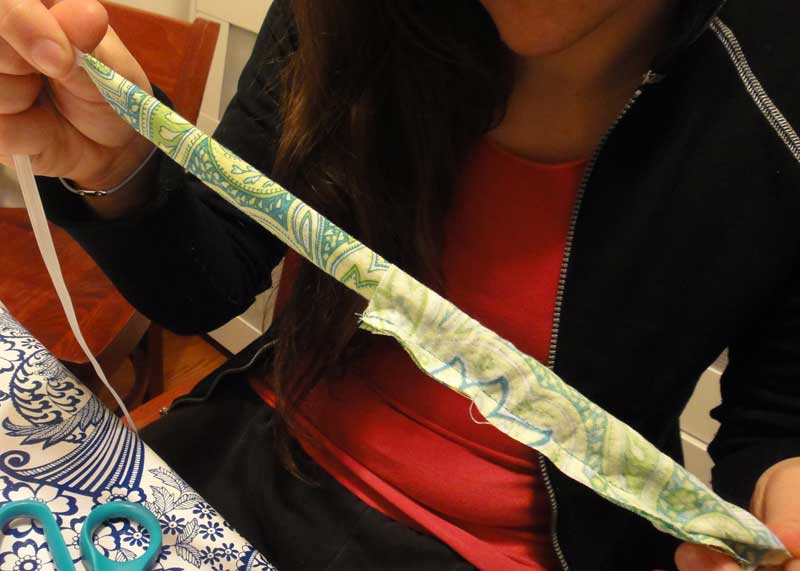
- Pull on ribbon to turn the tie right side out. When completely turned, cut ribbon close to the edge of the tie. Make sure you do not cut the fabric. When both apron ties and both neck ties have been sewn and turned, press flat.
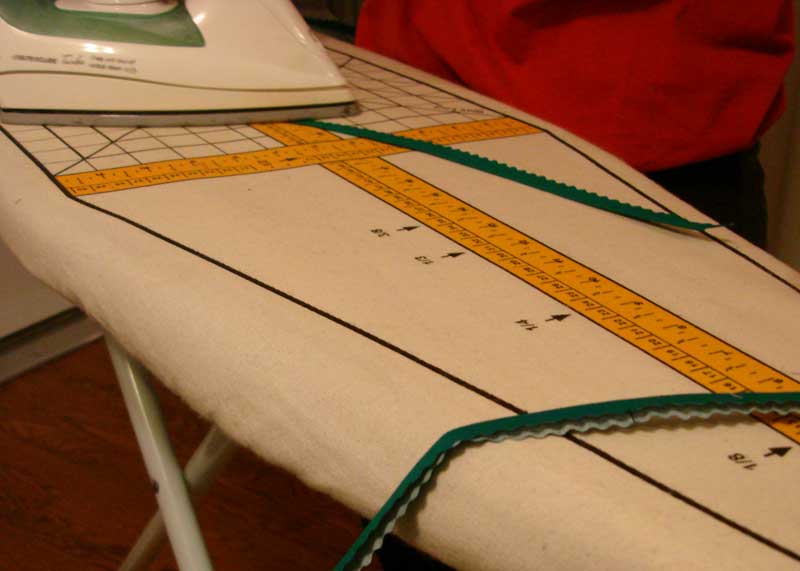
5. Prepare bias binding
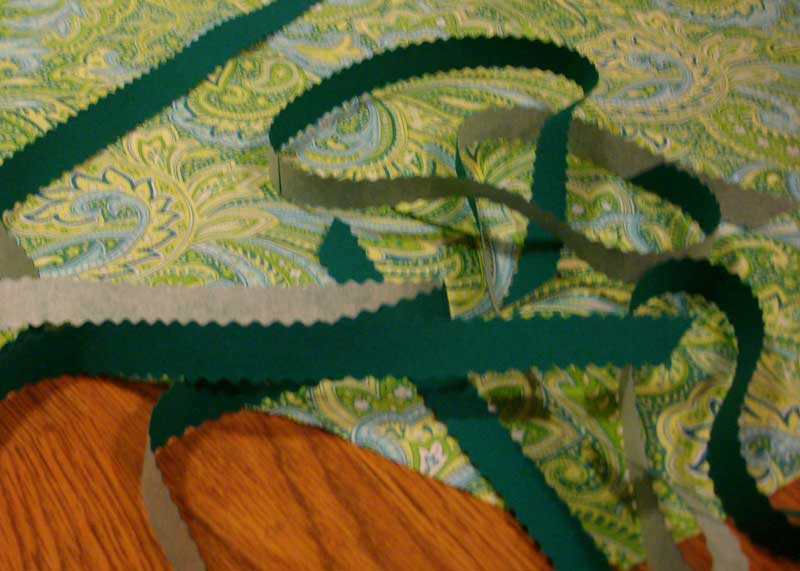
- For contrasting binding, cut fusible webbing about 6″ wide. Position at a 45 degree angle on the back of the fat quarter of contrasting fabric. Fuse in place.
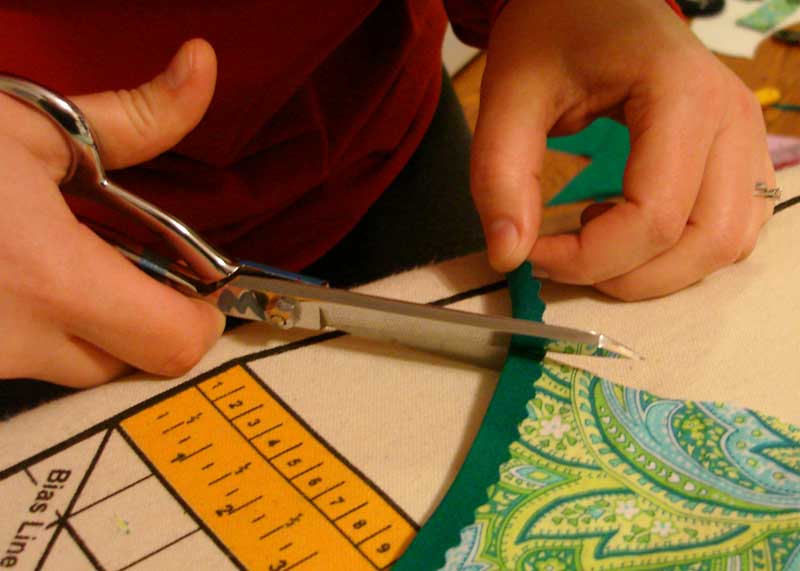
- Cut seven 3/4″ wide strips from section with fusible webbing. If desired, use pinking sheers or rotary cutter with a decorative blade.
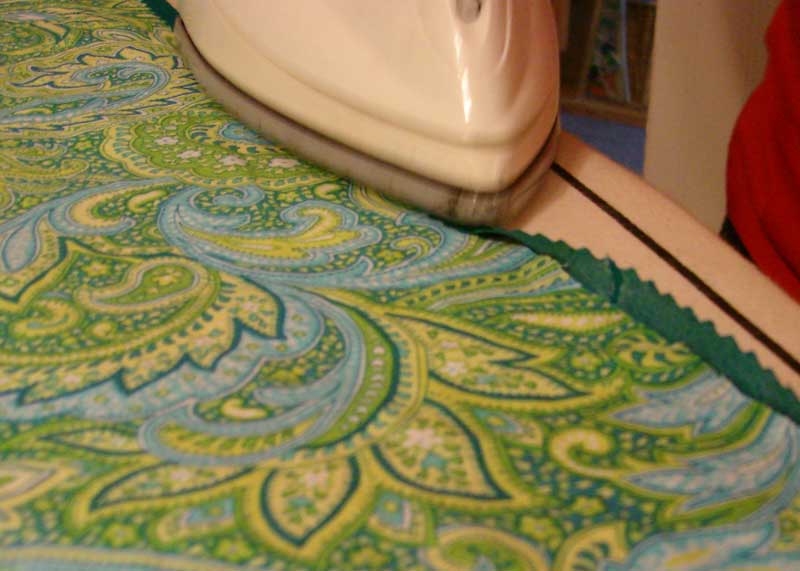
- With fusible web’s paper backing still in place, fold bias binding strips in half lengthwise and press with iron.

6. Apply bias binding
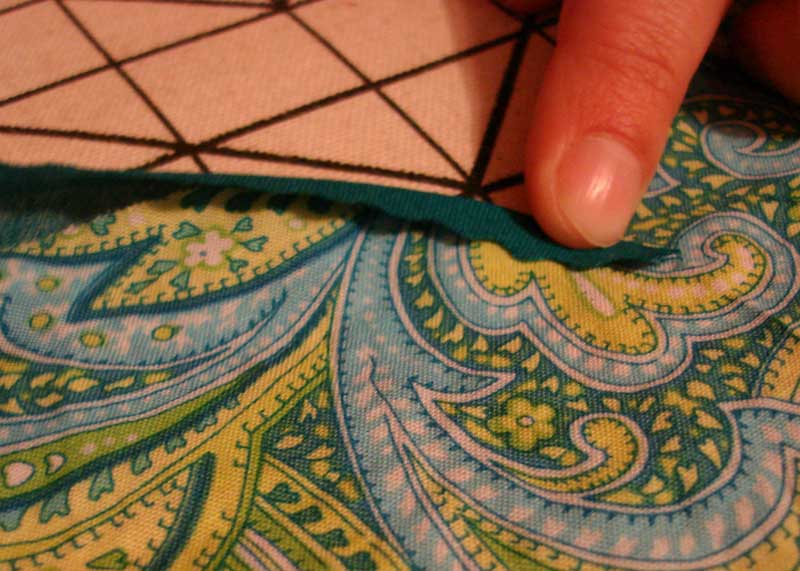
- Remove paper backing from bias binding. Position bias binding along edge of apron.
- Snuggle edge of apron into fold of bias binding and fuse in place.
- Cut bias binding at corners and continue fusing sides and lower edge.

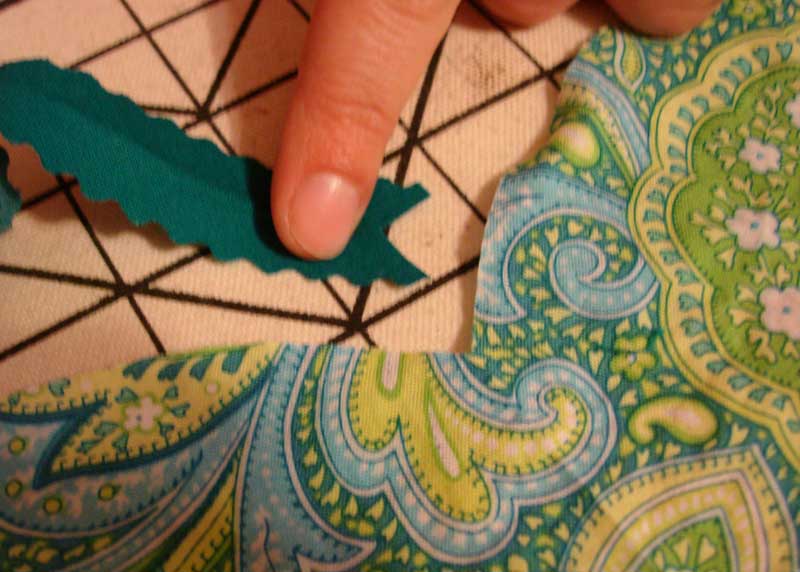
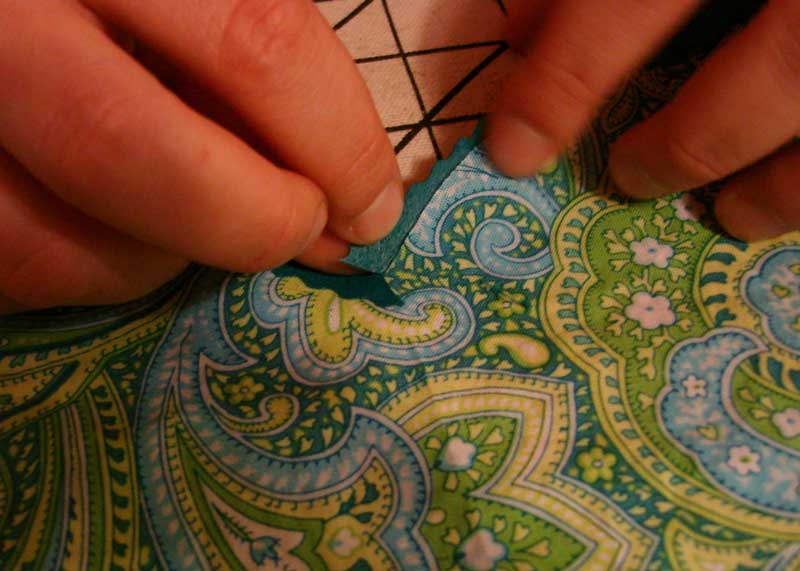
- At center top edge of apron, cut folded bias tape at an angle.
- When unfolded, it will look like a “V.” Position bias tape at center front of apron and fuse in place.
- Repeat with other side.
7. Pockets

- Fuse bias binding along all sides of pockets.
- Bind top edge using the same method as the top of the apron.
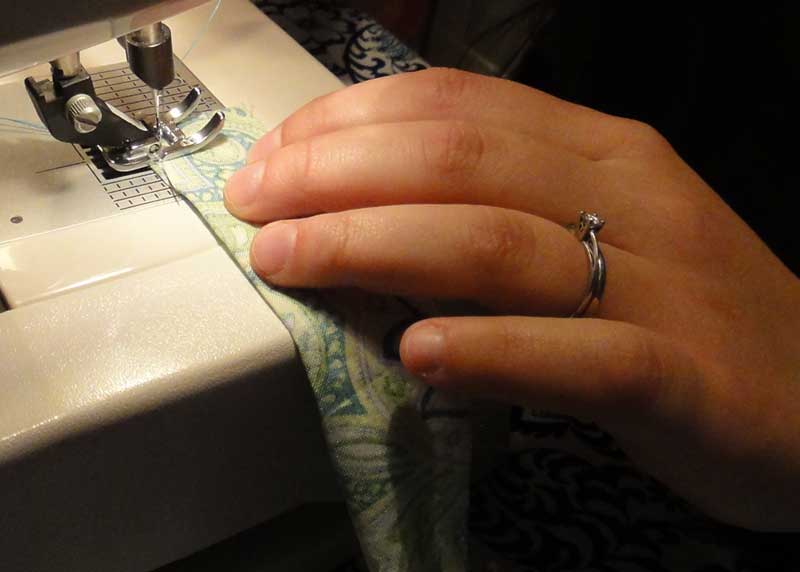
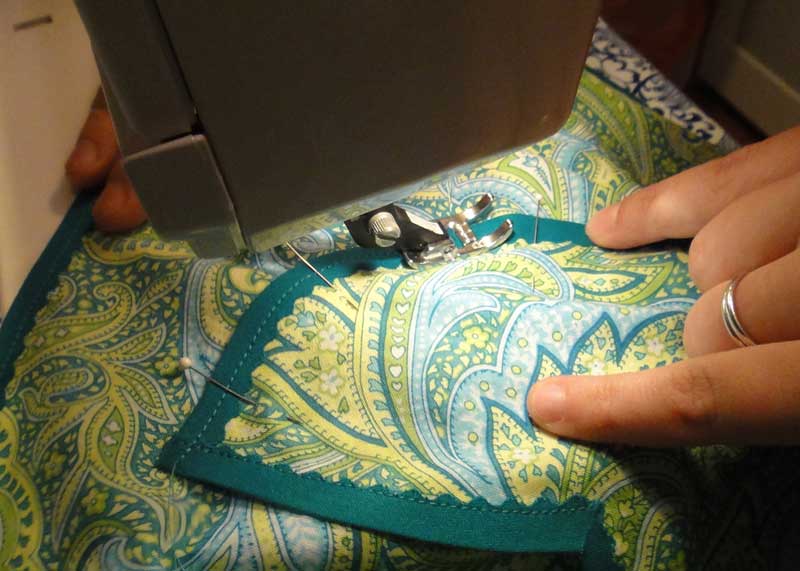
8. Stitching

- Pin apron ties and neck ties in proper places.
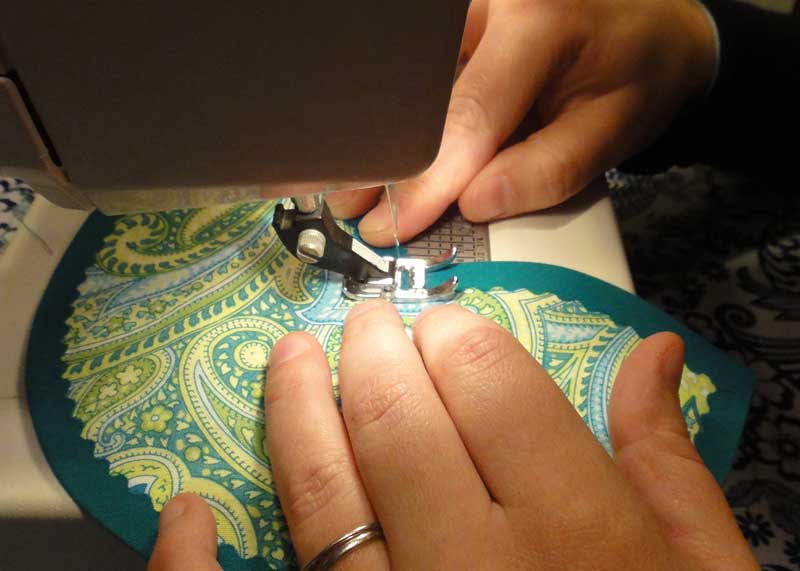
- Topstitch all edges of apron so stitching is near the decorative edge of the bias binding without going off the edge. When stitching at locations where the ties are pinned, be sure to catch ties in the stitching.
- Top stitch top edge of pockets.
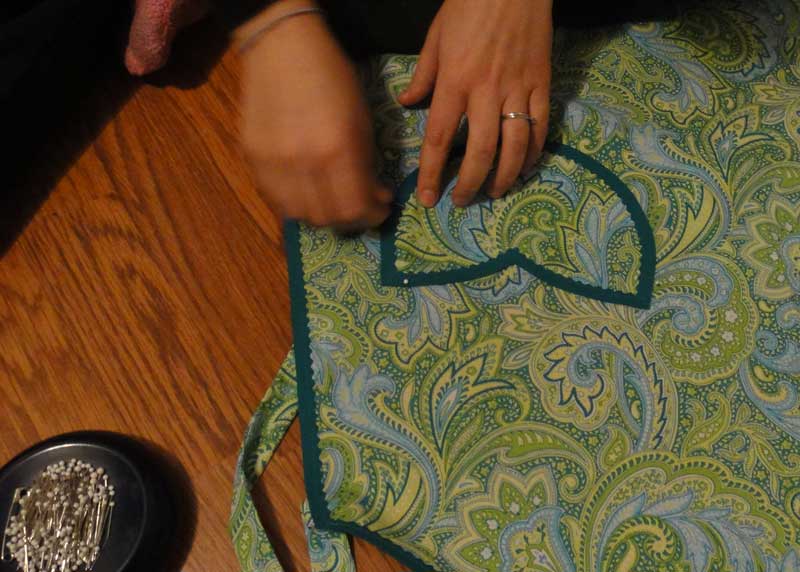
- Put apron on and decide where you would like the pockets to be positioned. Pin in place.
- Top stitch lower curved edge of pockets, leaving top edge free.
9. Complete!
