Ah…time for a break. I had a great day because I was able to spend a good four to five hours working on the middle ring of the “glorious” yellow quilt I’m making for my guild’s 2011 quilt challenge. I left this ring for last because I needed to use the gold tissue lamé.
Taming Tissue Lamé
If you’ve never used tissue lamé before, it can be rather annoying to work with.
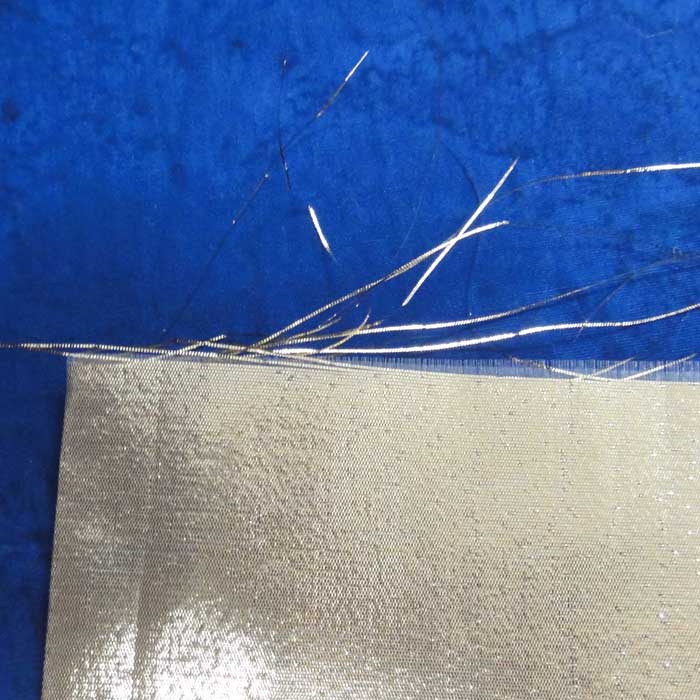
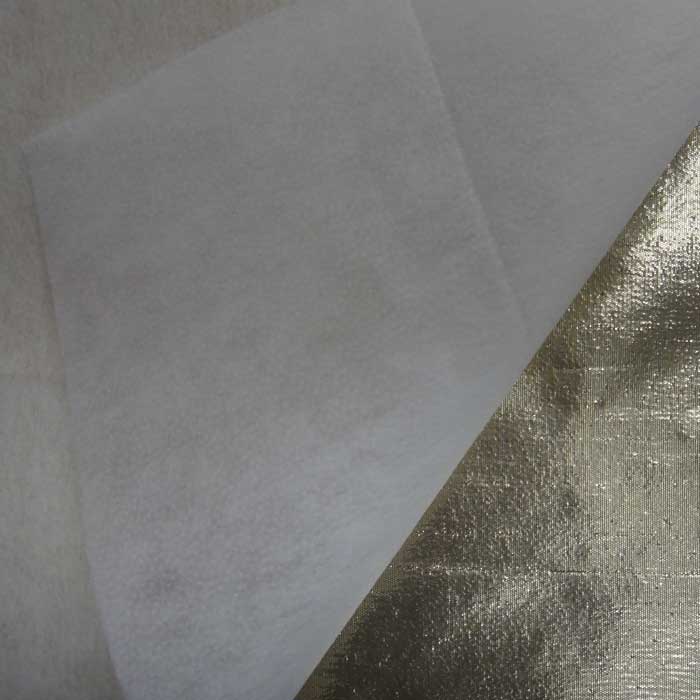
- It is really thin and slippery.
- It frays horribly.
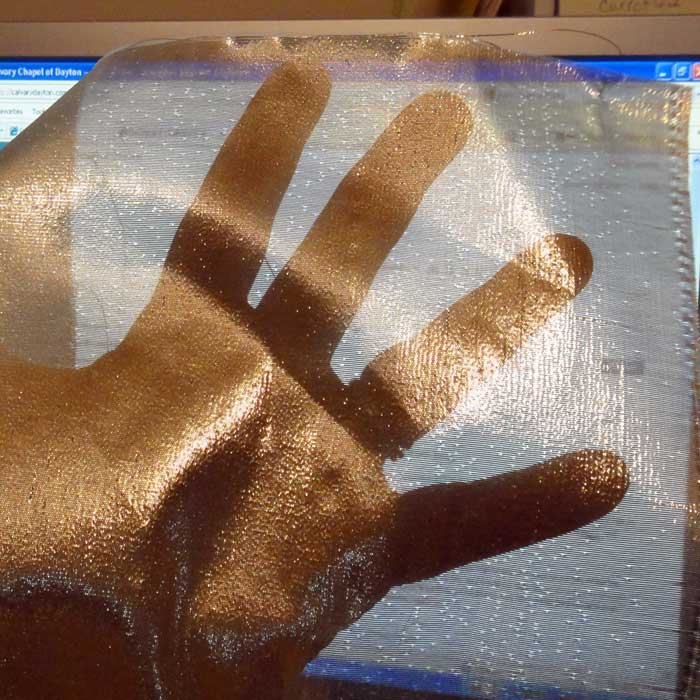
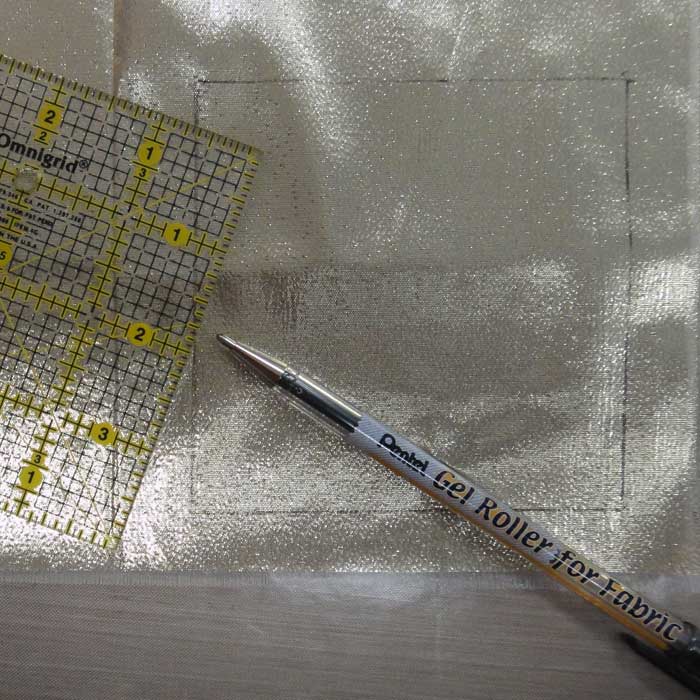
- It is made of 51% Metallic Polyester and 49% Nylon; that makes it potentially heat-sensitive. I did a little test by drawing a line around my 4″ square ruler.
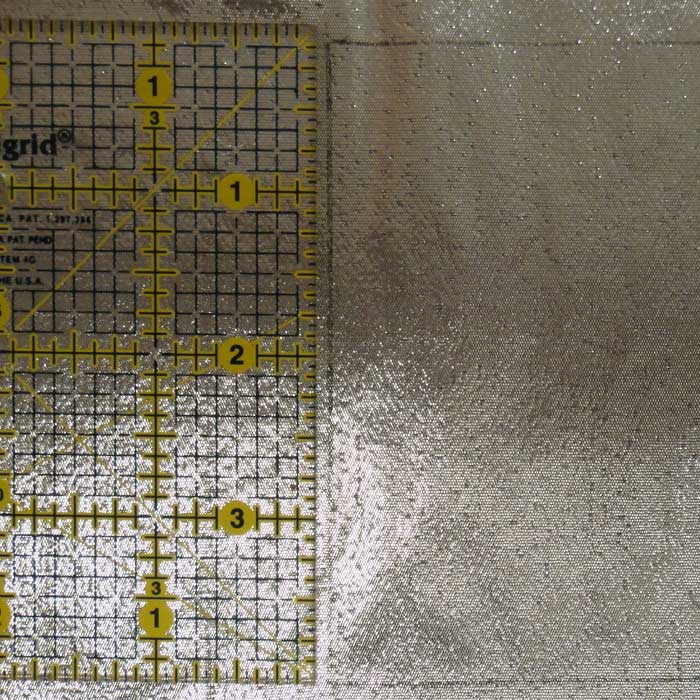
- Then I ironed it for 15 seconds on the cotton setting. I was glad it only shrank about 1/8″ and only in one of the directions.
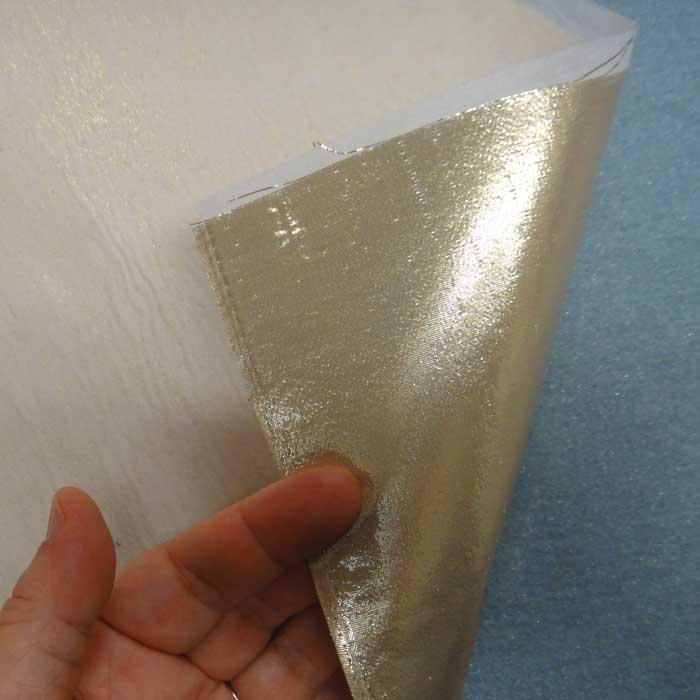
I needed to tame this beast! So, here’s my secret for how to use tissue lame in your quilt.
- The trick is to bond some featherweight fusible interfacing to the back of the tissue lamé.
- Thankfully, that makes the lamé just as easy to use as the rest of my fabrics.
Appliqued Circle Tutorial
Since I still had some time, I decided to work on the 3″ center circle. After considering my options, I thought hand applique would be the easiest way to handle it. I really enjoy hand applique. I used it for the two portraits for “Wedding Dreams” in 2001 and also for the angel on “In Answer to Prayer.”
Some quilters seem afraid to hand applique circles. Here’s my mini tutorial for how to applique a perfect circle. This method could be used for hand or machine applique. I prefer to do hand applique, myself.
So, here’s what to do.
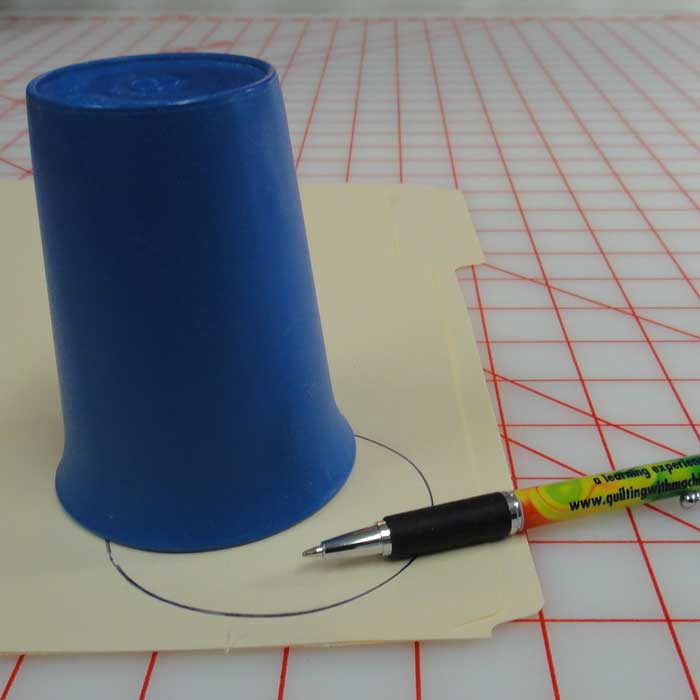
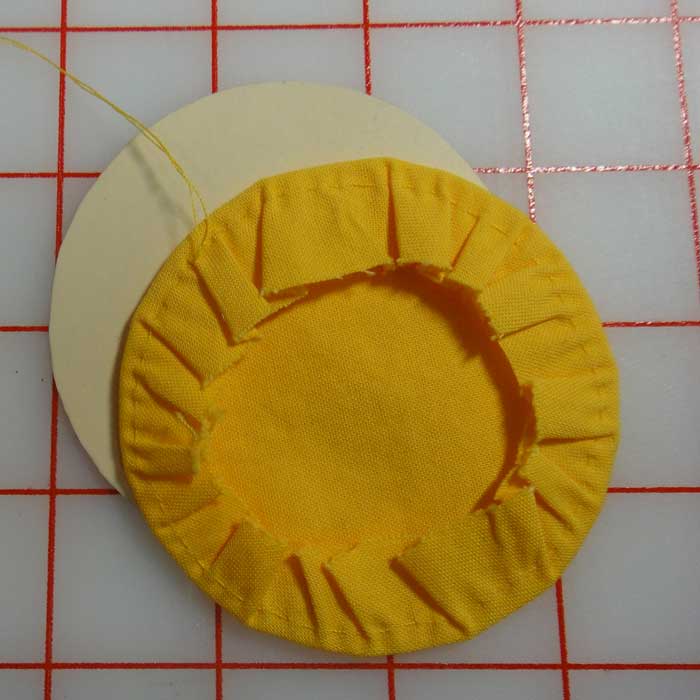


- Glue together a file folder so you have two thicknesses. Draw your circle and cut it out.
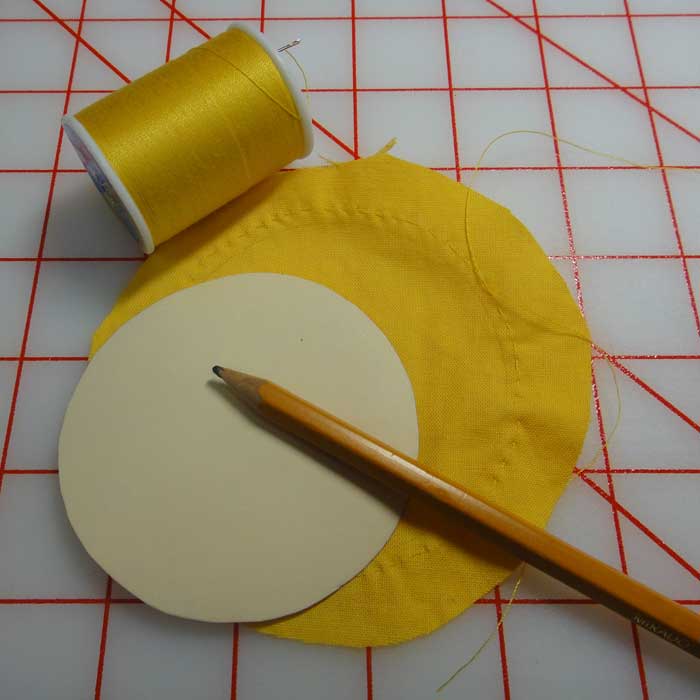
- Trace around your circle onto the backside of your fabric. Stitch tiny basting stitches about 1/8″ away from pencil line.
- With template in place, draw up your basting stitches and tie ends in a knot. Iron and remove template.
- If your fabric is light-colored, cut a piece of fusible interfacing the size of your template and fuse in place. This would have been easier if I did it before I gathered my basting stitches.
- Pin circle in place. Sew in place with tiny stitches using 100 weight silk thread.
- Press finished applique.
Middle Ring
Here is the finished middle ring, along with the previous two sections. I’ll have to sew them together tomorrow.

Comments
5 responses to “Tutorial: Appliqued circles”
I love it! Can’t believe how quickly you finished. I’m so glad you used the blue not the gray. it looks great. Can’t wait to see it in person. LOVE YOU.
It’s not done yet 🙂
Thanks for sharing your tip for working with lamé!
Wow. I wish I was half as talented as you. I also wish I had the tips on lame about two months ago. You inspire me to do better (next time).
Deanna, it’s just that I’m so old (another birthday this month) that I’ve been sewing for longer than most other quilters have been alive (grin)