 The votes are in, and more than three times as many people said: “Horizontal!” So, horizontal it is.
Here’s the back story: Last week I was looking for a simple project that I could do that wouldn’t require much pre-planning and used stuff I already had in my studio. Since DD#1 has flown the coop, we now have a “guest bathroom.” Sounds impressive, huh? It’s actually a small, dull, hole-in-the-wall. I wanted to make it bright and cheerful with a minimum of fuss. Maybe a new shower curtain? That’s not much different than a quilt top, right?
That’s when I started thinking of a couple of colorful batik jelly rolls that I have been hoarding. I knew I wanted my patchwork shower curtain to be more than a jelly roll race, but not much more. I visited my “Quilts I Like” Pinterest board for ideas. I really liked Susan Rienzo‘s two “Sunshine Memories” quilts, along with several others that used a similar approach. They reminded me of the Chinese Coins quilt block, and I thought I could modify that idea to use jelly roll strips.
Since this jelly roll shower curtain was so quick and easy to make, I decided to write a tutorial as my Christmas present to the quilting community. If you don’t need a shower curtain, you could easily make a quilt top with a few modifications.
Free Jelly Roll Shower Curtain Tutorial
You will need:
- Two jelly rolls or 72 strips of fabric, each 2-1/2″ wide by at least 42″ long
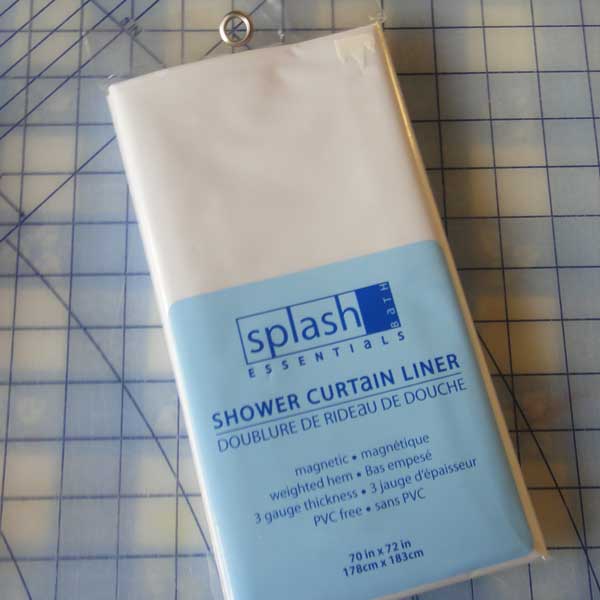
- One plastic shower curtain liner
- Standard sewing supplies such as thread, scissors, etc.
1. Prepare the jelly roll strips
- Set aside four jelly roll strips to use as top and bottom facing later.
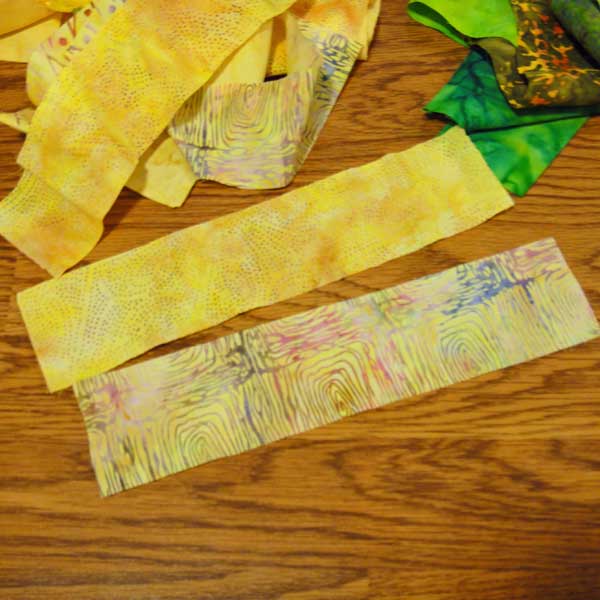
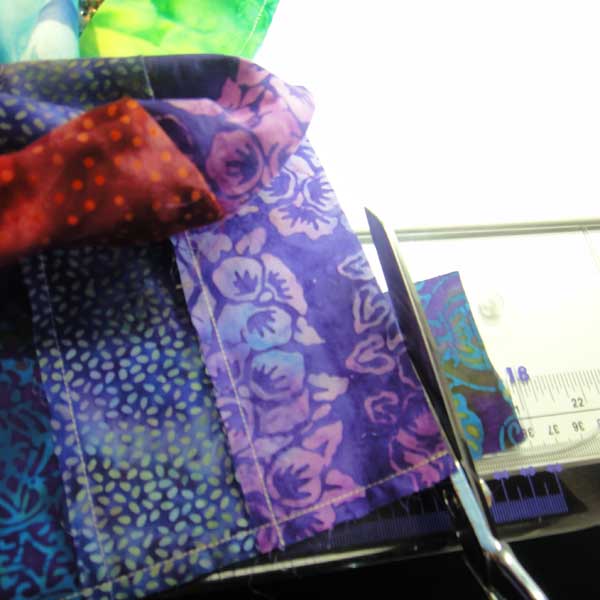
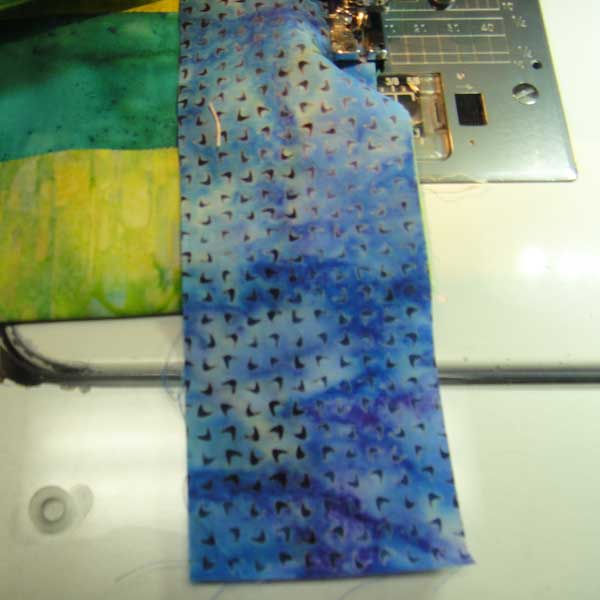
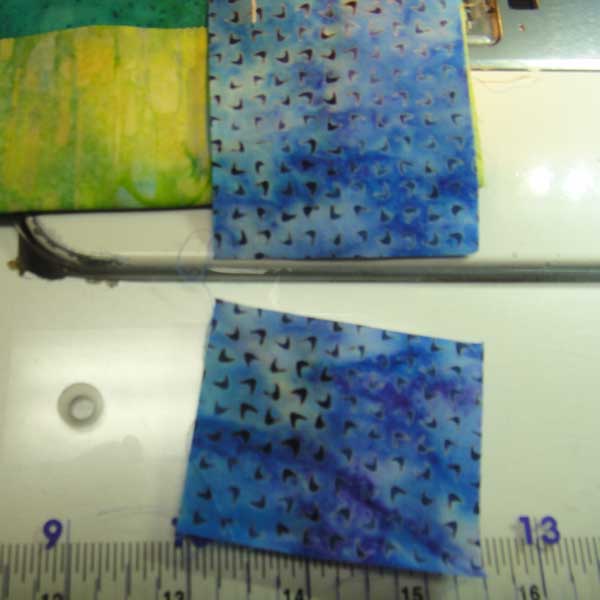
- Cut the rest of the jelly roll strips into fourths. I just folded mine in half and cut them with scissors; then I folded those pieces in half again and cut. Each one should be a minimum of 10-1/2″ long.
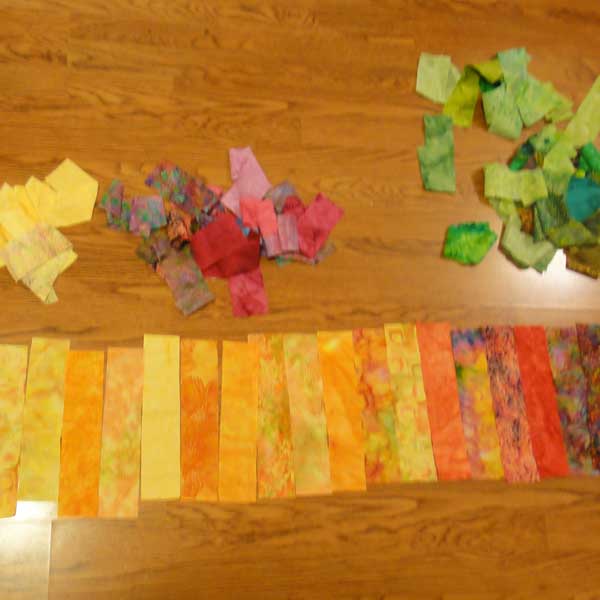
- Sort the strips into color piles. I sorted mine into the six basic primary and secondary colors. There are always some that don’t quite fit into a specific pile, so “ish” is okay.
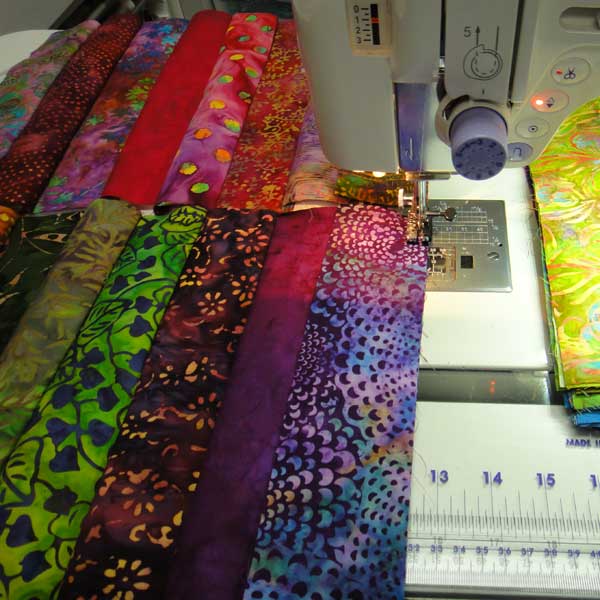
- Arrange strips in loose color progressions, but don’t get overly fussy. (That’s a hard requirement for me to follow!) For instance, group yellows, followed by oranges, and merge into reds. Sometimes I purposely alternated a few colors such as yellow and orange. I also tried to vary the placement of colors within each section. In the end, you will need seven sections, and there needs to be 38 strips in each section.
- Once you’ve arranged the colors, carefully stack each of the seven sections into separate piles, placing one jelly roll strip on top of the next until you have a pile of 38 strips for each section.
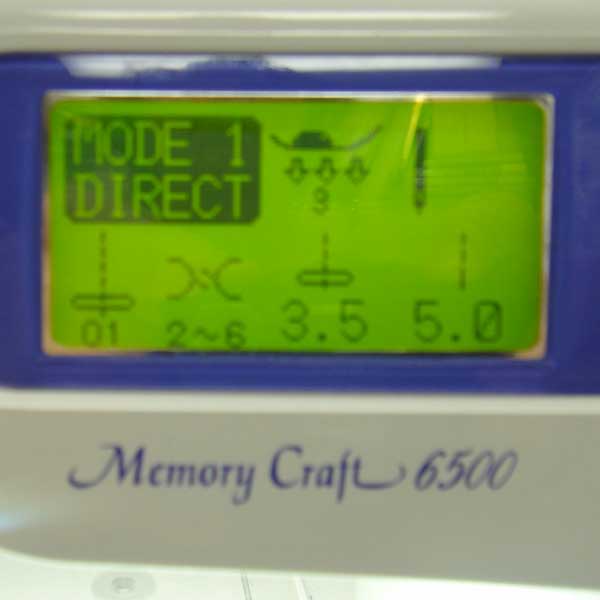
2. Sew your jelly roll strips
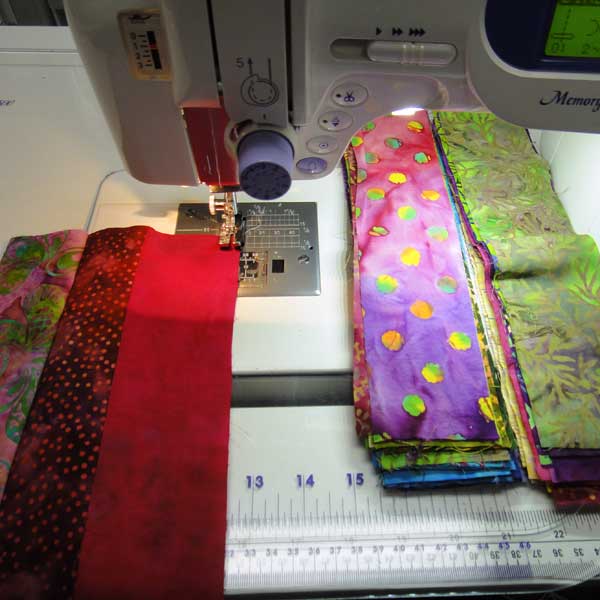
- To speed things up just a bit, I chain pieced two sections at a time. That is optional, of course. If this would be confusing to you, just stitch one section at a time.
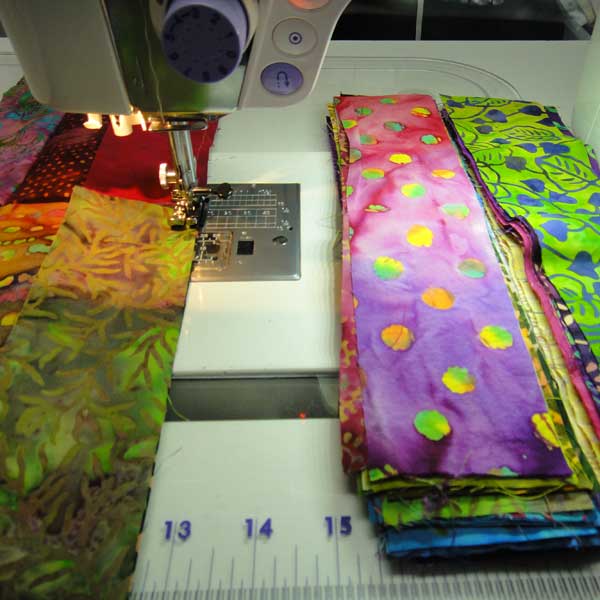
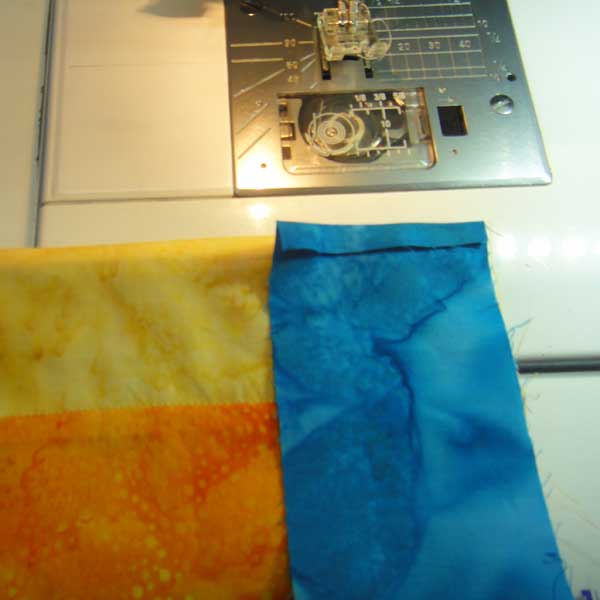
- If you are chain piecing, place two of your piles next to your sewing machine. I actually placed my two piles right on the sewing machine bed so they were handy.
- Pick up the top two pieces from your first pile, place right sides together and stitch a 1/4″ seam. When you get to the end of that pair, position the top two pieces from the second pile and continue sewing. When you get to the end of the second section, stop and clip the threads.
- Go back up to the first section, position the next strip from the first pile, and continue stitching pieces to each section until you’ve stitched all 38 pieces in each pile. Just remember to take the strips from the right pile.
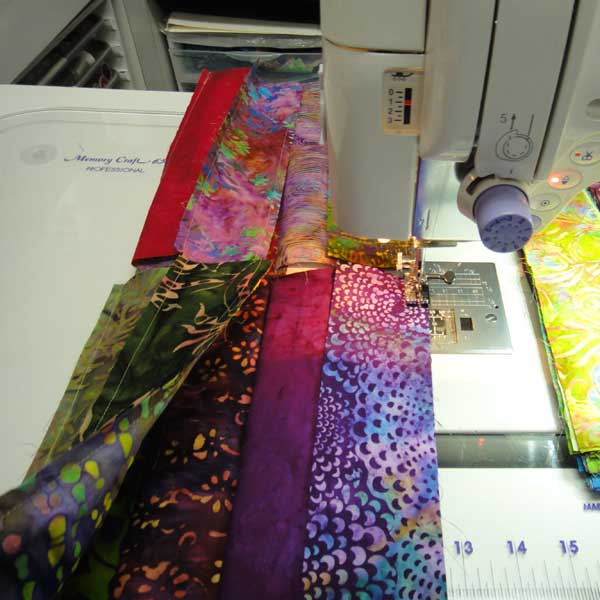
- As the sewn sections get longer, it helps to roll it from the left toward the sewing machine. This makes it easier to move the sewn units.
- When you’ve finished sewing all of the strips, you can snip the threads between the two sections so they are separated.
3. Prepare the sewn sections
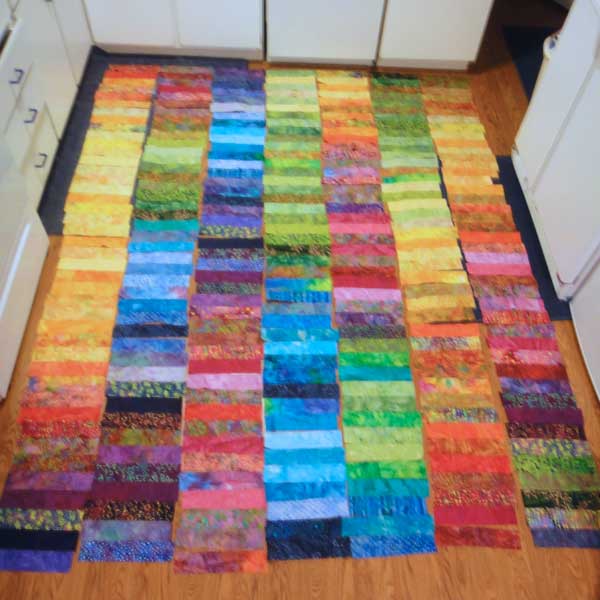
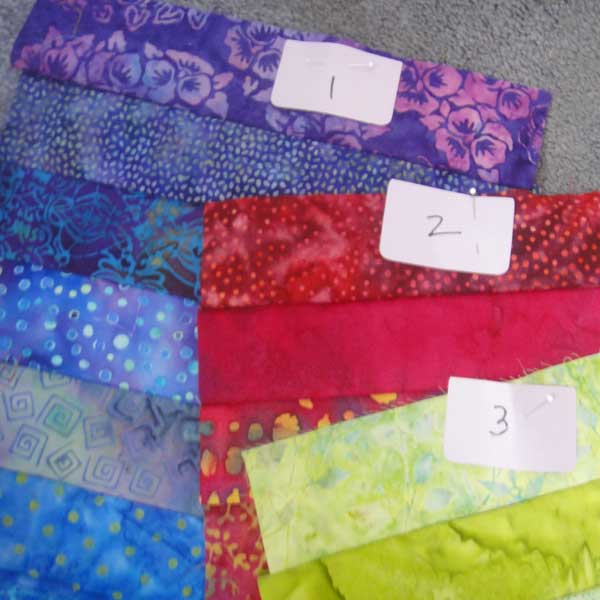
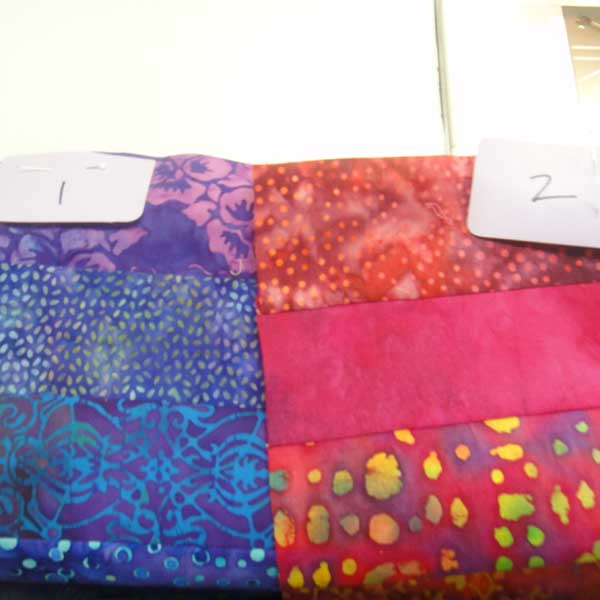
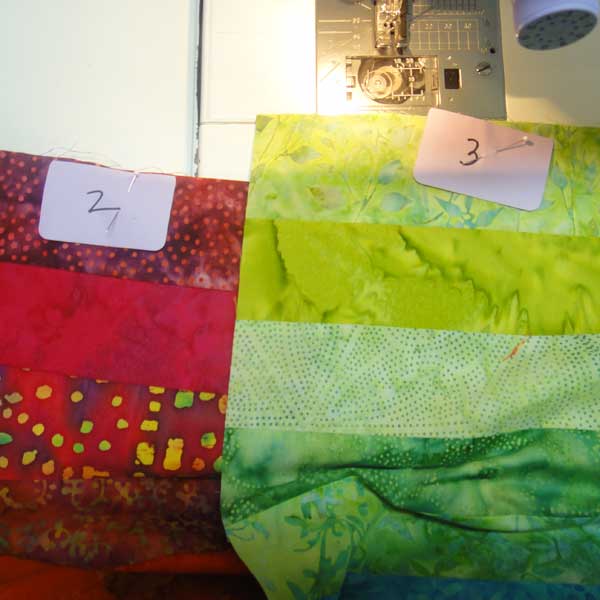
- When all of the seven piles have been sewn together, spread them out and try various arrangements. I tried to position them so there were contrasts between each section.
- Once you’ve decided on your final arrangement, pin a number at the end of each section, numbering them 1 to 7, left to right.
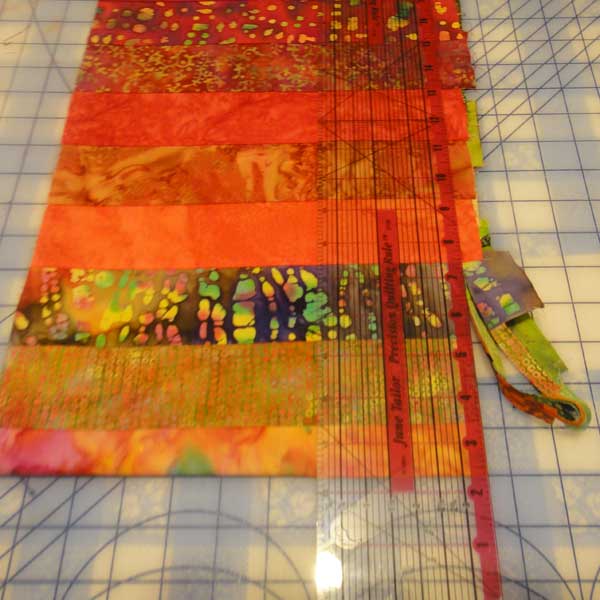
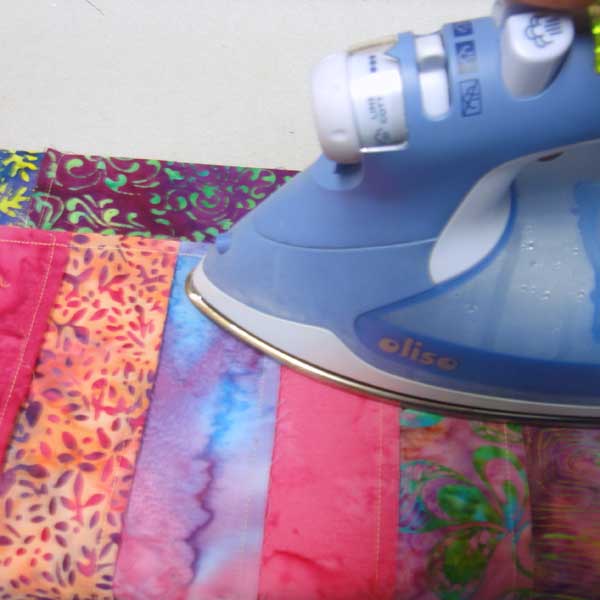
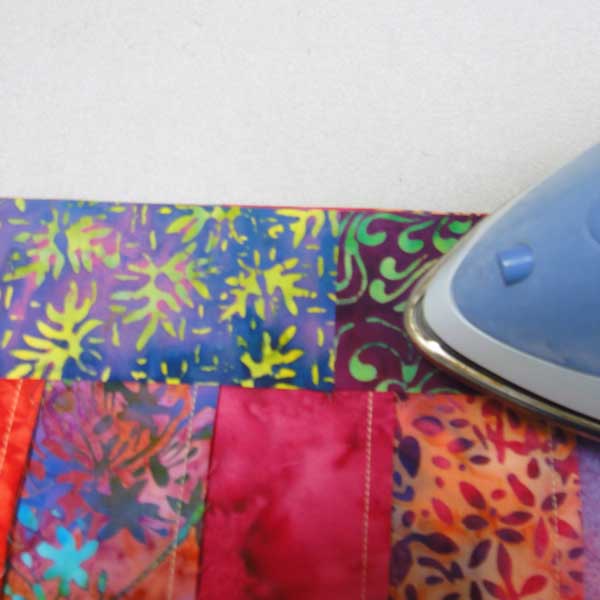
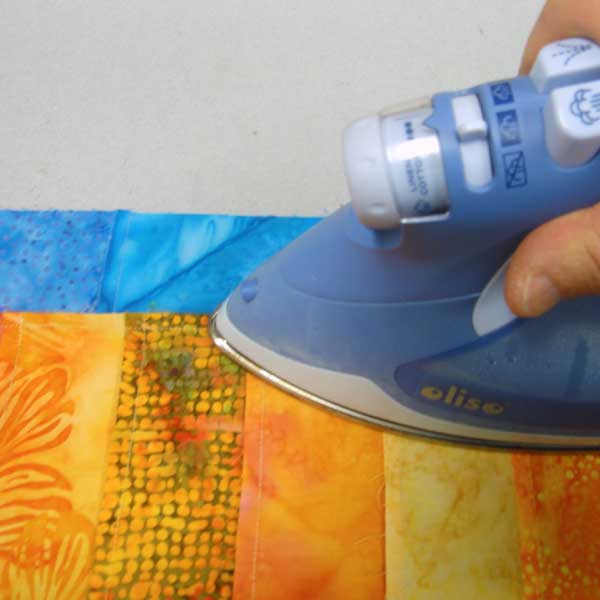
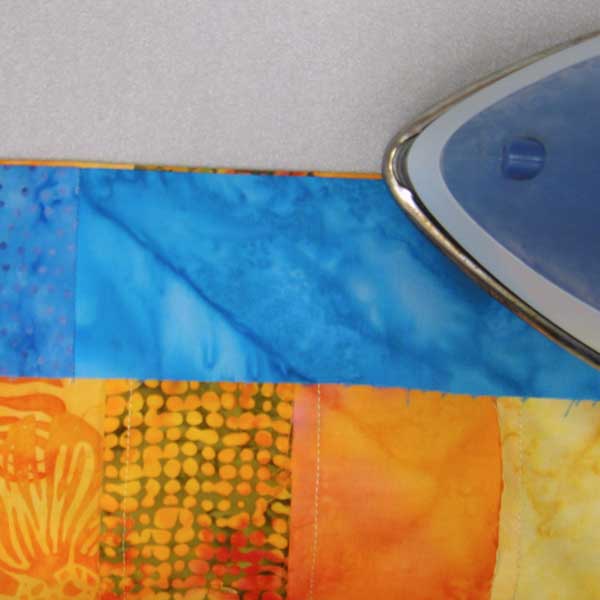
- On the odd numbered sections, press the seams to the left. On the even numbered sections, press the seams to the right.
- Trim each section so it is 10-1/2″ wide.


4. Sew the sections together
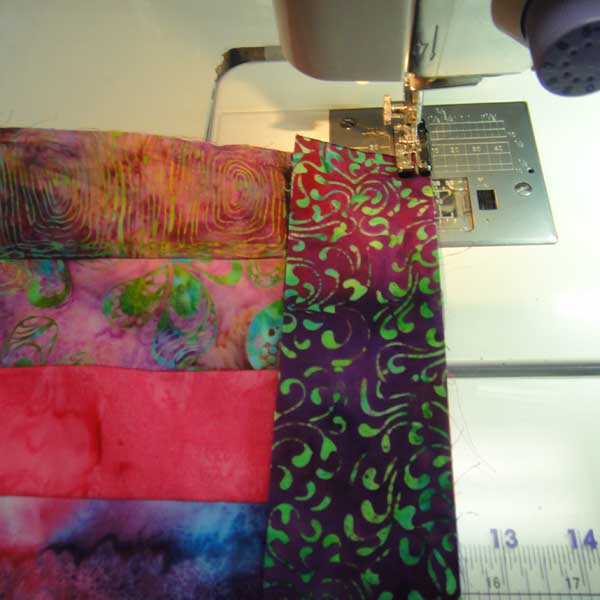
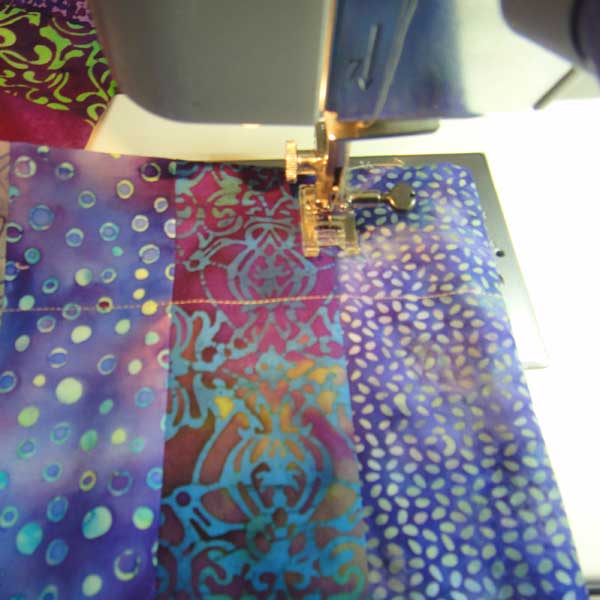
- Place section number 1 right side up, and position section number 2 right side down on top of section number 1.
- Stitch them together with a 1/4″ seam allowance. Matched the seams in each section. Because you’ve pressed the seam allowances in opposite directions for each section, the seams should nestle up next to each other, making it easier to match seams.
- Continue stitching together the sections. I sewed together 1 and 2, then 3 and 4, then 5 and 6. Once those pairs were sewn, I stitched the 1-2 section to the 3-4 section, and so on until all seven sections were joined.
- Before stitching each section, double check the numbers to make sure you get them in the right order. Once the entire curtain is pieced, you can remove the numbers.
5. Finish the top edge
- Sew together two of the jelly roll strips that you set aside at the beginning. Sew them along the short edge so you have one very long strip to use as facing.
- Stitch facing to top edge of shower curtain with a 1/4″ seam.
- When you get to the end of the seam, trim off the excess facing so it is even with the edge of the curtain.
- Press the seam allowance upwards towards the facing.
- Fold the facing downwards towards the curtain and press. I rolled the seam slightly so no facing would be seen from the front.
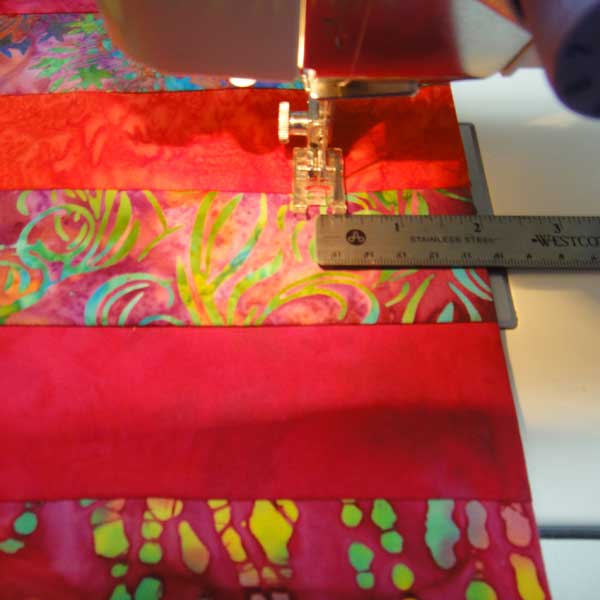
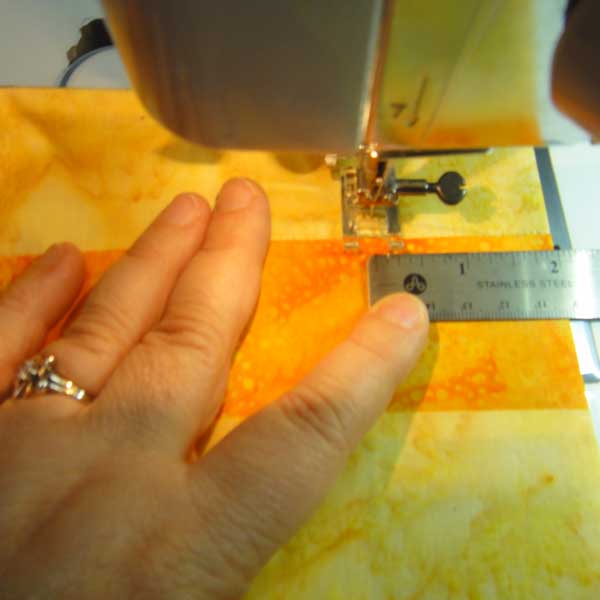
- From the front, stitch the facing in place by sewing 2″ away from folded edge. If your machine doesn’t have a 2″ marking, you can position a piece of blue painter’s tape so it is 2″ away from the needle.
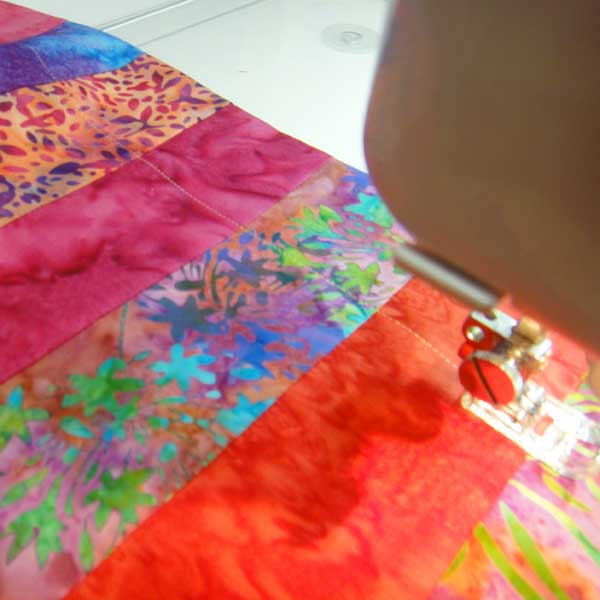
6. Finish the sides
- To finish off the sides of the curtain, press the last strip in each section to the back. This will make your finished curtain 36 strips wide. The outer strips on each side create the facing.
- From the front, stitch in the ditch down the entire length of the curtain on each side.
7. Finish the bottom edge
- Sew together the last two of the jelly roll strips that you set aside at the beginning. Sew them along the short edge so you have one very long strip to use as facing.
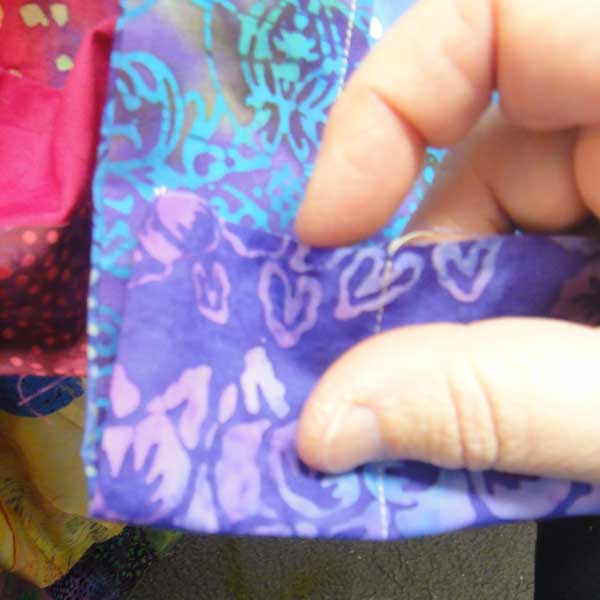
- Press under 1/4″ at the beginning of the facing strip.
- Stitch facing to bottom edge of shower curtain with a 1/4″ seam.
- When you get to the end of the seam, trim off the excess facing so it extends 1/4″ beyond the edge of the curtain.
- Press under 1/4″ at the end of the facing strip so the fold is even with the edge of the curtain. I just made a crease with my fingernail.
- Press the seam allowance upwards towards the facing.
- Fold the facing downwards towards the curtain and press. Again, I rolled the seam slightly so no facing would be seen from the front.
- From the front, stitch the facing in place by sewing 2″ away from folded edge.

8. Complete shower curtain
- If you wanted to, you could sew buttonholes along the top edge of the curtain so you can hang it from shower curtain rings. I decided to take an easier approach, which I’ll describe here.
- Purchase one inexpensive, plastic shower curtain liner. I picked a clear plastic one because I wanted to maximize the light within the shower stall. If raw seam allowances bother you, you might prefer a more opaque liner.
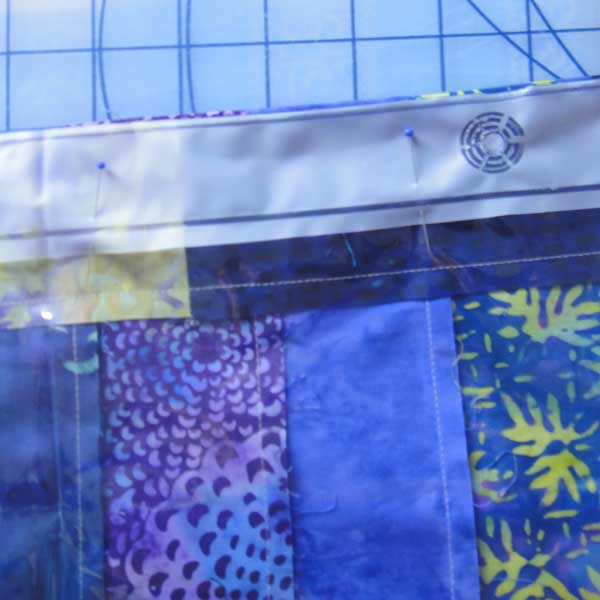
- Pin the plastic shower curtain liner to the patchwork shower curtain so the top edges match. I started by matching the centers of each, and then I worked my way outwards from there.
- Set your stitch length to the longest setting. I reasoned that this would help keep the plastic from tearing due to too many holes, and it would also be easier for me to separate the two curtains if I ever wanted to in the future.
- Baste together the two curtains just below the holes on the plastic liner. Be sure to stitch through the area that is double thickness or reinforced.

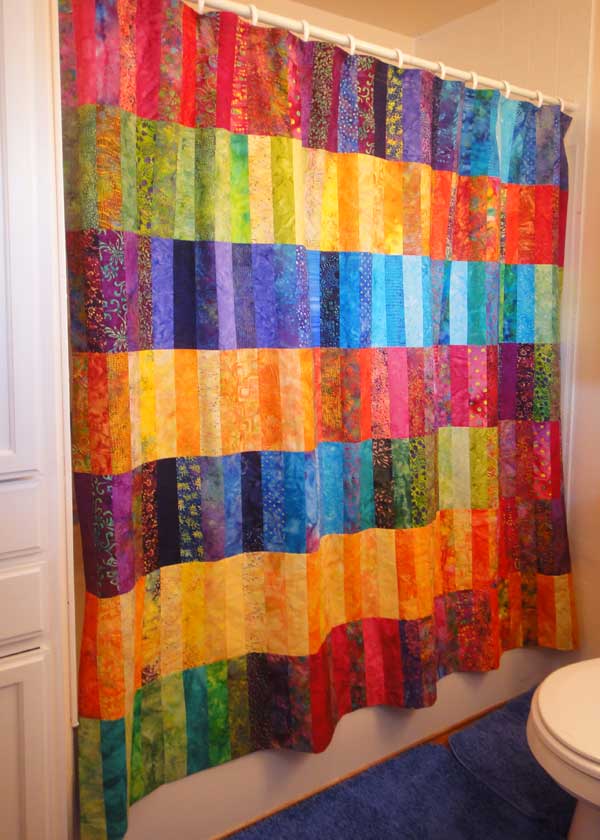
9. Enjoy!
- Hang your curtain from the holes in the plastic shower curtain liner. The fabric shower curtain will extend a little bit upwards in front of your curtain rings.
- Stand back and enjoy!
- Now step inside and enjoy! I’ve always loved the look of a quilt top hanging in a window with the light shining through it. It reminds me of stained glass, so I just had to stand inside the shower stall and show you how beautiful it looks when the curtain is glowing in the afternoon sun.


Here’s my disclaimer. Generally, I don’t recommend quilted items for a high humidity area such as frequently used bathrooms, but this curtain is hung in a seldom used guest bathroom, so I don’t expect humidity to be much of an issue. I also don’t expect to have to wash it often, if ever, so I’m not worrying about having the seam allowances exposed. If you plan on washing yours, you might want to consider putting a lightweight backing on it.
If you end up making a jelly roll shower curtain of your own, I’d love to see it. Be sure to email me to tell me all about it.
Comments
6 responses to “Tutorial: Jelly roll shower curtain”
What a nifty idea, Maria….! Your tutorials are always so concise and well thought out. Hmmm…this might even work with some prints I have somehow inherited. Have that 2 1/2″ Accuquilt die…and jelly rolls are done in no time flat.
Definitely a jelly roll shower curtain is going on my to-do list!
It’s gorgeous Maria! Your use of color is fabulous.
Really nice job, Maria! You should submit this to Quilting Arts Gifts magazine. I suspect they would love it and publish it in a heartbeat!
Thanks for the suggestion, Gloria.
This is truly lovely, Maria! I love it! I agree with you about enjoying the look of a pieced quilt top back-lit: very much like seeing stained glass!
Thanks for this. I would like to post a link to the tutorial on our local Modern Guild blog. I think many will enjoy stopping by to take a look!
Best,
Leslie
Thanks, Leslie! Please feel free to post a link on your guild’s blog 🙂