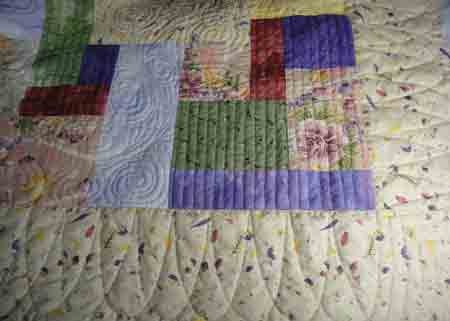
 I finished all of the interior quilting and was left with just the borders. I was not sure what to do there. I wanted something that would compliment both the straight parallel lines and the free motion swirls. Just last week I saw a video online by The Quilt Journal and she did a very nice demo showing how she used the half ellipse “Fine Line” Quilter’s Template by Accents in Design. I thought this would be perfect since it combines repetition with curves.
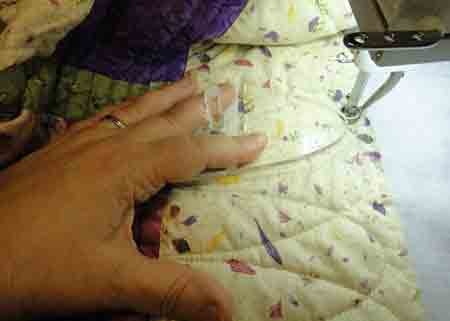 Fortunately I actually had that exact template so I quickly pulled it out and got to work. The technique is very easy. Basically, use the template to stitch a single row of bumps along the length of your border (as shown above). Then position the template so it is staggered half way and stitch a second row of bumps in the opposite direction. At the corners I just echoed the final curves.
It is a little tricky keeping the template steady because first you are quilting on the backside, then around the bump, and then along the frontside. When I wasn’t careful, the template wanted to push out of alignment as I pushed the presser foot against it. I was able to keep my left hand on one side of the template, but I had to move my right hand each time I stitched around the bump. It wasn’t too bad, though, and I was happy with how it looked in the end.
 Now I am pretty much finished with my sister’s quilt. I still intend to examine it tonight to see if there are areas I want to tear out and re-quilt, but I am happy that I am nearer completion. Once the repair work is done, all I have left is trimming and binding. Woohoo!