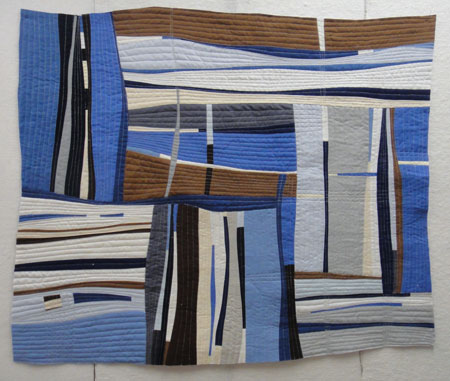
I decided to keep the undulating curved edges. Since that is unusual for me, I thought it was time to try a different finishing technique, too. I usually use a double French binding on all my quilts. I actually like that 1/4″ strip of a contrasting color. I see it as similar to the thin, black frames on some of my prints. It doesn’t bother me at all. A lot of quilt artists, however, prefer faced edges so they can eliminate that 1/4″ binding. I figured it was time to give it a try. Here’s a quick tutorial on how I did my facing.
1. Tear strips at least 4″ wide, or wider if the edges of your quilt have deep curves. Tear the strips as long as the sides of your quilt plus an inch or so extra. Press the strips in half the long way.
2. Pin facing to quilt, right sides together. I applied the top and bottom strips first. Once those were sewn in place, I applied the two side pieces.
3. The edge of the facing remains straight even where the quilt curves, so the two pieces won’t line up. That’s okay.
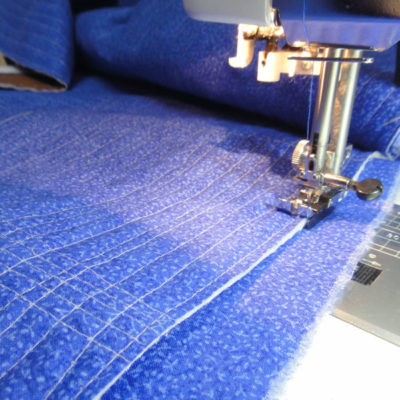
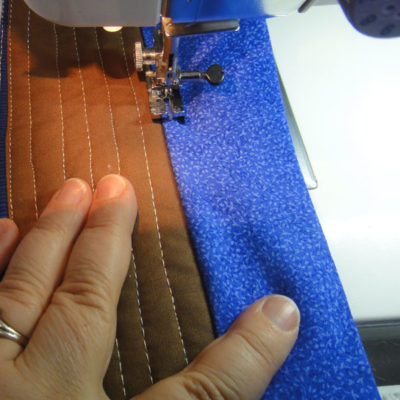
4. Sew 1/4″ away from the edge of the quilt. I used the 1/4″ seam foot that comes with my machine. It has a little ledge that follows the cut edge of my quilt so the stitching stays an even 1/4″ away from the edge.
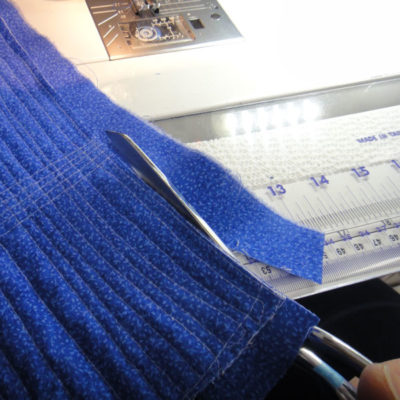
5. Trim the facing even with the edge of the quilt.
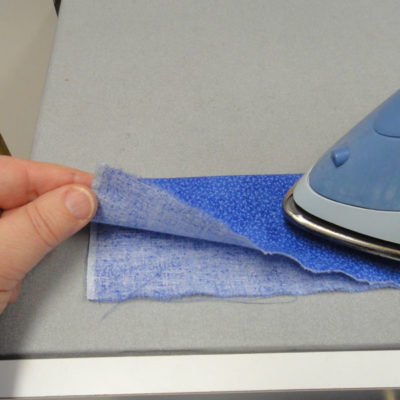
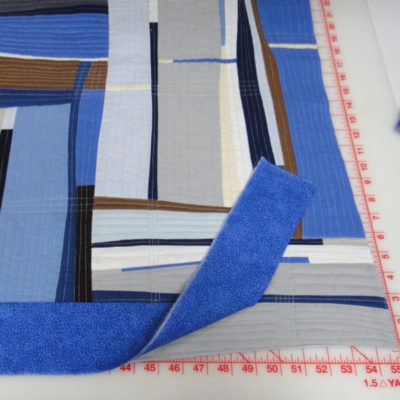
6. Fold the facing away from the quilt and stitch 1/8″ away from the seam. The stitching should go through the facing and the seam allowance. This will help the facing roll to the back.
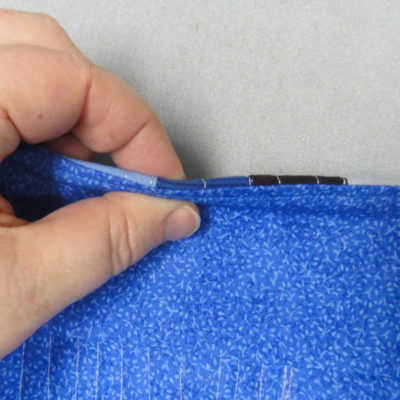
7. Press the facing to the back of the quilt, making sure the front of the quilt rolls towards the back. You don’t want the facing to show from the front.
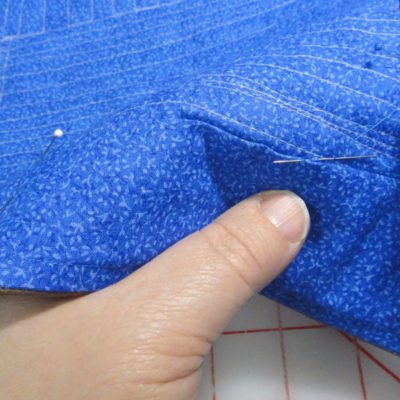
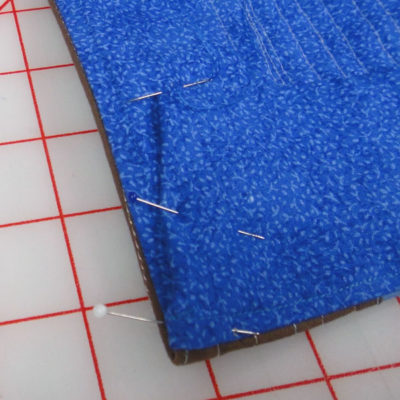
8. Pin facing in place. Use a slip stitch to secure the facing to the backing.
9. At the corners, I minimized the bulk as much as possible by clipping away excess within the seam allowance, and then I sewed down the facing at an angle for the strips that were on top..
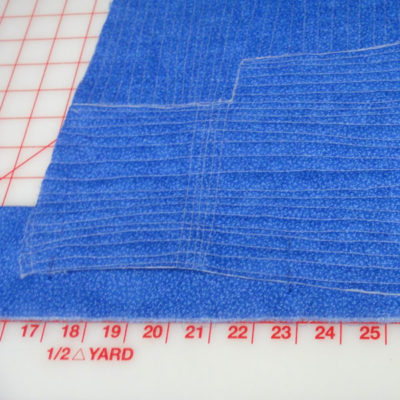
This is what it looks like from the back, before the sleeve and label are added.
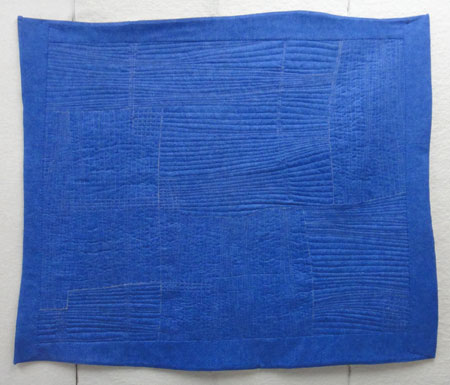
I like how it turned out. It was a simple enough technique and gives a clean, tailored end result.
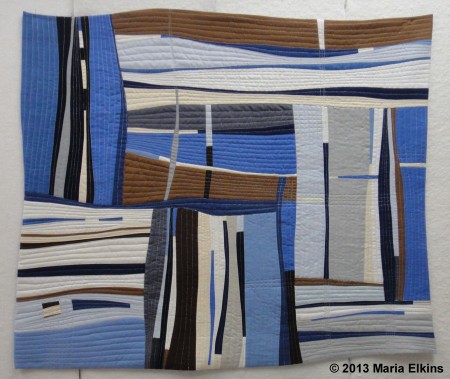
So, here is the completed quilt. Sweet hubby named it “Cabin Window.”
Comments
9 responses to “Tutorial: Facing instead of binding”
Wow, Maria – I learn something new in the quilting world every day. I didn’t know about this style of finishing. That would work wonderful with a UFO I finished last week. A UFO that is at least 15 years old, I might add. LOL – have come a long way since then.
Thank you for the great tutorial.
And BTW – great quilting on Cabin Window!
I think itlooks GREAT!! nancy would be so proud!! Beth
What an interesting technique for a modern quilt! I’ll have to try it. Love your finished quilt, and the curved edges.
This is grand! Facing is perfect for it too. What is the size? I’ve seen some quilts from NC classes and most were enormous. This one looks smaller than a sheet of phywood though???
Btw, your blog loads very slow. I follow several, and this one takes a long time to come up. I use Mozilla Firefox and have a PC with lots of power. Don’t know if there is any fixable reason for the speed.
Thanks, Elsie. You’re right, this one is about 37″ wide by 32″ high. (I went small so I could actually finish something!)
Thanks for the comment on loading speed, too. I’m going to have to do an overhaul on my blog sometime in the next couple months. Hopefully that will help 🙂 Wish I could get to it sooner, but it’s not likely.
Love that you share your process and the results! I feel like I have a finish too just reading your blog Maria. Thanks for sharing. Belinda
Thanks for the tutorial. Love the quilt!
Thank you for that tutorial. I had ideas of an oval quilt, and think I may try this technique for the edging (which is what had me stumped)! One more step to making something that has been in my mind for about six years!
I love how this turned out. What fun to see it done! You are motivating me to finish one of mine.