 I’m trying something new! (Well, new for me.) Lately, I’ve had an inexplicable desire to do some piecing. Weird, huh?
I was joking with a fellow guild member recently about how long it’s been since I actually pieced anything. It might have been Wedding Dreams in 2001! Although, I guess I did throw together a little baby quilt from a kit (!) during August 2010. Nothing in between those that I can remember, and precious few before that, to be honest 🙂 It’s not that I don’t know how to do piecing. I learned to use a sewing machine when I was nine, and I’ve sewn pretty much everything under the sun since then. It’s just that fusing or painting is quicker and easier. I even fused the background of my Broken Dishes quilt. Of course, most of my quilts are wall hangings that will never be washed, so there’s really not a reason to piece them.
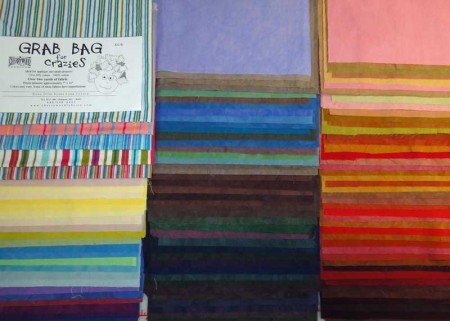
Anyway, back to my newest project. I recently bought a grab bag of fabric scraps from Cherrywood Fabrics. They are currently running a special where, if you buy one pack, they send a second pack for free. More than 100 pieces of yummy hand-dyed fabrics! Each piece is about 7″ by 10″. (The stripes shown in the picture above were bought from someone else, also on sale.)
I decided to try my hand at some improvisational piecing. After setting aside a few of the lightest and brightest pieces, I’ve been inserting skinny strips into each of the other squares. I started by gathering up five striped fabrics and cutting some skinny strips freehand. Each strip is about 1/2″ to 1″ wide. Then I made a random, curved cut through each Cherrywood block.
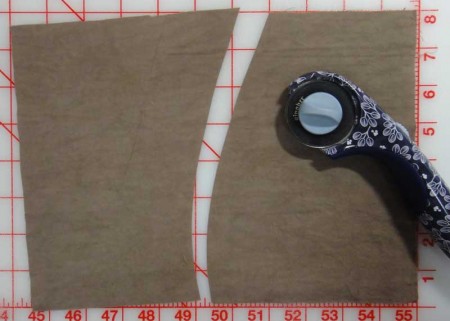
Then I sewed a skinny strip along the curved cut edge, easing the fabric around the curve as needed.
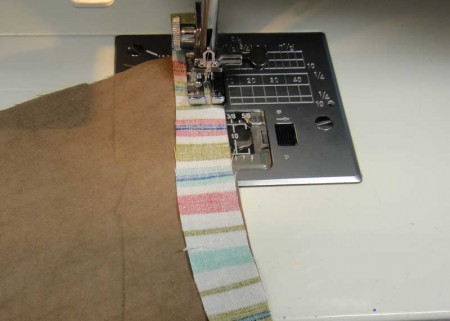
Next I used my finger to push the seam allowance away from the skinny strip. I know this will make the strip lower than the surrounding block which is exactly what I want. I’m thinking of these as “cracks in the armor.”
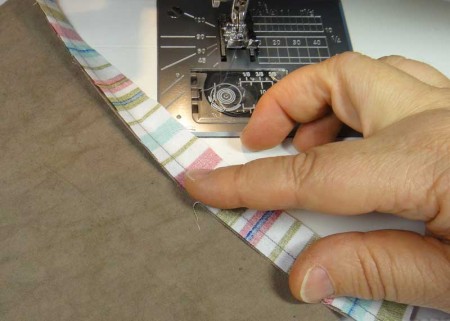
Then I placed the pieced section over the top of the other curved cut edge. This gives me a better idea of how skinny my striped segment will be. It can be done either way, though. In general, it is a bit easier if you put the convex curve on the bottom because then you can manipulate the top piece as needed and you can make sure you don’t accidentally stitch any tucks into the seam.
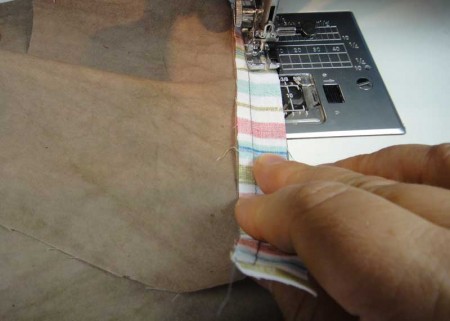
Next, press the seams. Again, because I want the skinny strip to be pushed downward, I am pressing the seam allowances away from the skinny strip. If you prefer, you can press both seam allowances in the same direction for a more even finished look.
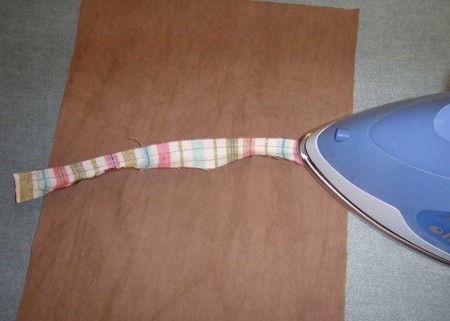
Once I’ve pressed the seam allowances, I turn it over and give it another quick press with a bit of steam, just to ease out any fullness. Then I clip the ends off the skinny strip.
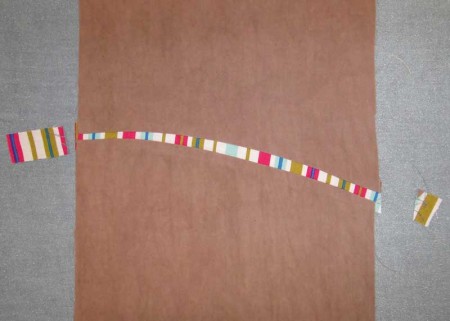
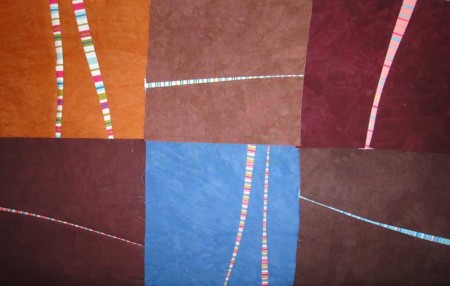
I plan on stitching one or two more skinny strips into at least some of the blocks. Once all of the strips are in place, then I’ll probably cut down all of the blocks to a uniform size. Or, maybe I’ll piece those together improvisationally, too. I haven’t decided. I think I might want my blocks to be arranged something like this. Maybe I’ll alternate warm and cool colors, or maybe I’ll alternate colors with browns. Once I’m done with piecing, I’ll have to put them up on the design wall to decide.
Comments
One response to “Tutorial: Improvisational piecing: skinny strips”
OK, that’s really neato!