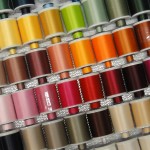
Since bobbins are relatively cheap, and I am relatively lazy, I decided to have a separate bobbin for each color of bobbin thread that I have. That way I always have the right color bobbin at my fingertips, already wound and ready to go. I don’t have to search high and low for a bobbin so I can wind the color I want. I don’t have to wind a second color onto a partially filled bobbin, only to find out later that I need the first color. A separate filled bobbin for each color makes everything quick and easy. Once I got my bobbins, I just popped in a movie and mindlessly wound all of the bobbins at once. When they are all filled, the question becomes, how do you keep all of the bobbins organized so you can actually find the color you want later? I knew I wanted to keep each bobbin with the corresponding spool of thread.
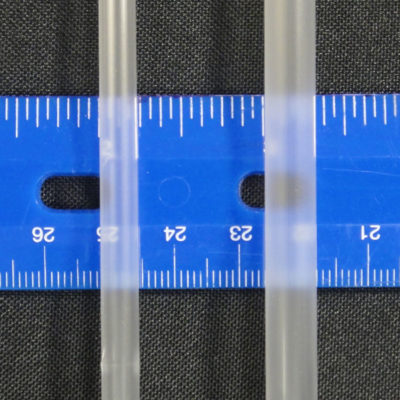
Here’s my solution: straws! Yes, regular drinking straws. I found two sizes of straws. The standard size (just under 1/4″ diameter) is a little too small, but we happen to live three buildings away from Dairy Queen where they have fat straws (5/16″ diameter), and sweet hubby just happens to like Blizzards. (Okay, I do, too.)
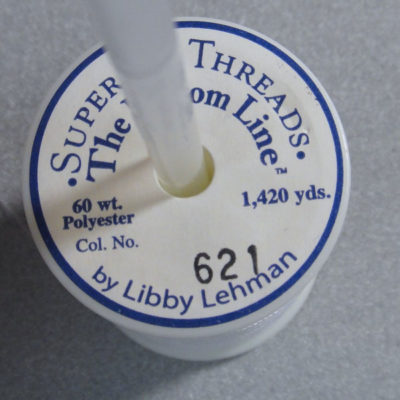
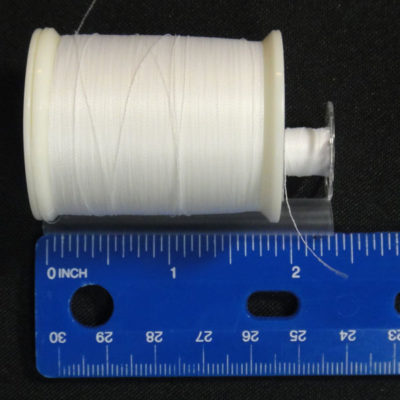
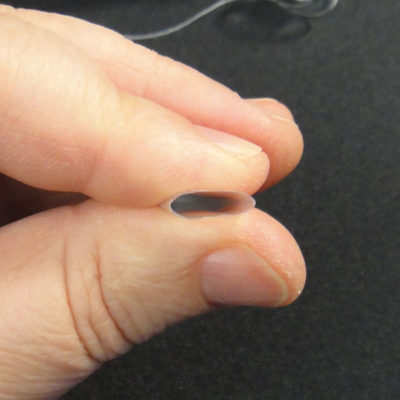
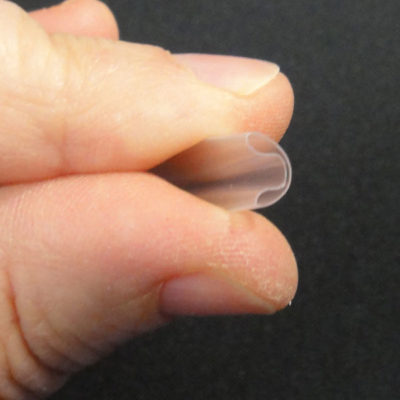
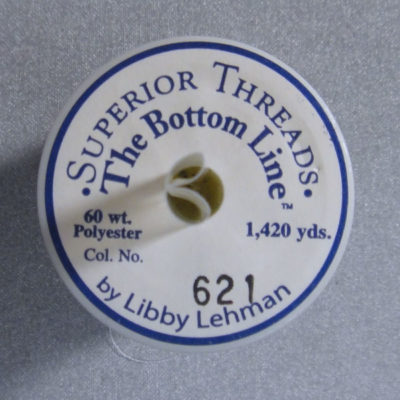
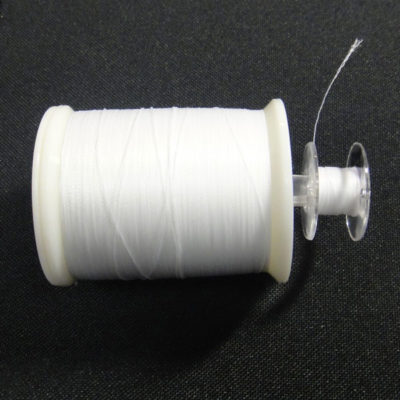
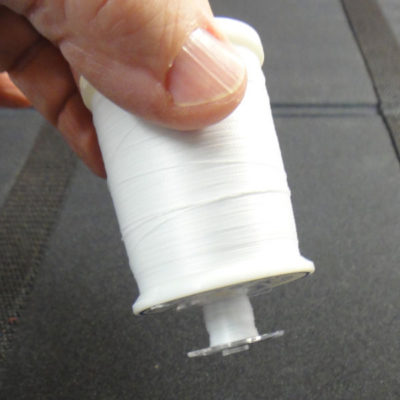
The Dairy Queen straws need a little bit of tweaking to make them the perfect tool to keep spools and bobbins together. First I cut them to the same length as the spool plus the bobbin. Then I flatten the straw and fold it in half lengthwise. This creates a nice, spring effect. Holding the crease in the straw, I slip it into the spool’s hole. Once I let go of the straw, it unfolds slightly to fit snugly into the hole. Then I can slip the bobbin onto the remaining straw that is left exposed. Another great feature of this method is that the bobbin stays with the spool, even if I hold it upside down.
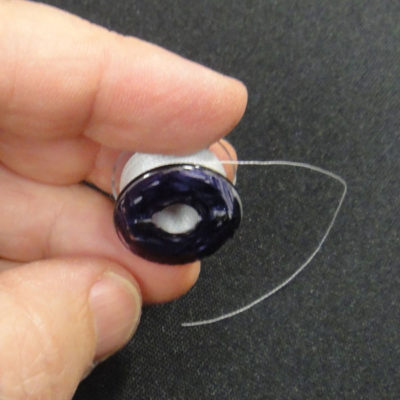
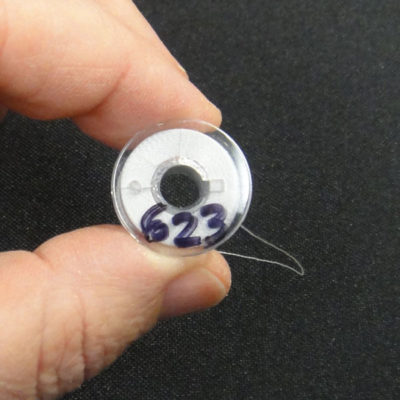
Here’s another tip that I’ve been using. I can easily get confused about what type of thread is on a bobbin, so for regular sewing thread I leave the bobbin untouched, but for all of my BottomLine (a lighter, 60 wt. thread) bobbins, I color the bottom side of the plastic bobbin with a Sharpie. I also write the color number on the top of the bobbin.
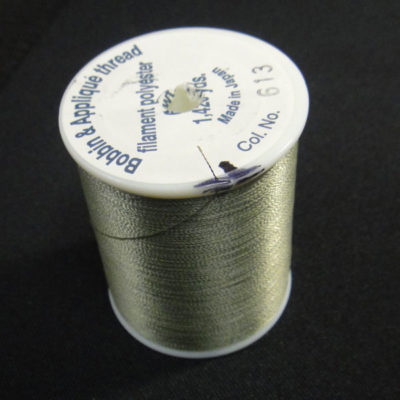
For my last tip of the day, do you still have some of the older spools that have the little notch that you are supposed to secure the end of the thread into? Sometimes my older eyes have a hard time finding that notch. I’ve started marking the notch with a Sharpie so it is easy to find every time.

Comments
17 responses to “Organizing thread and bobbins”
You are just too smart. Thanks for a great ideas! Now all I have to do it ‘do it!’
I spent my morning (4:30-7:00, marking all my thread spools with a sharpie and sorting by color and material made of. Great minds think alike. Wish I had thought of straws, I bought a holder to go on each spool but to many of them have the wrong sized hole. I too have a bobbin for almost all colors, but my problem is that I have 3 machines and they all use different bobbins.
Thanks for the tips! Thread done, fabric sorted, now to clean the avalanche of junk off the cutting table. :0)
Organizing is a never-ending project, isn’t it! But I haven’t had to organize three different sets of bobbins before. Yikes!
well you hit on a subject that has been on my mind lately. I mean you end up with all this thread but how to organize it nicely? What I decided was I’m going to use bobbin boxes – one full of bobbins of each of the bottom line colors I have – one filled with 40 wt black, grey, white, ecru and one filled with poly’s and rayon’s in the basic colors. I’m not super fussy fussy with matchin’ each bobbin color with its sister top thread but like to be in the color family. But I’m still collecting the right thread boxes to fit all the different type of spools I own – not to mention the right bobbin cases – sighhhhh
I outgrew thread boxes. I just have too many spools and I like to be able to see all the colors. I designed and had my sweet hubby build a thread cabinet using plywood, quarter round molding, and cookie sheets. I love it! It works perfectly and holds a huge number spools in a very small area. Complete customizable instructions for the cabinet were in the Summer 2011 issue of Studios magazine. I keep a different kind of thread on each shelf. Bobbins go on in there, too.
Great ideas…but I am organizationally challenged!!!
It helps to play favorites. Instead of trying to organize everything, pick just one area and organize that. Even if everything else is chaos, take pleasure in having one tiny area neat and clean.
Love the idea!
ohhh my husband – who does fine woodworking – made this amazing thread cabinet for me too – it was so wonderful I decided to use it as a jewelry/accessories cabinet instead (did I say it was gorgeous!!)- thread got designated to the boxes – I do tend to take out all the boxes – leaving them open and laying around me while I work – just like you said – so I can see all the colors!
Sounds wonderful! What a blessing. No, the one I made is not pretty, just plain painted plywood and cookie sheets, but it works beautifully 🙂
Great ideas! Love your ‘Windblown” quilt!
I saw your link on the Superior Thread newsletter and came to check out your organization tip. I had no idea you were the creator of “Windblown”. That quilt is incredibly stunning. Just too beautiful for words!
So glad I stopped by…I love your tips for organizing your bobbins as well. ;-D
I hope this doesn’t show up twice – my first attempt doesn’t seem to have appeared. I’ve just discovered your blog and your thread cabinet – just brilliant! Do you have instructions for it anywhere? I ask because the magazine is no longer for sale… 😉
Thank you for the great idea & for sharing a pic of your awesome quilt! Wow!
Another easy way to keep bobbins and thread together is using the thin piece of selvage cut from fabrics: slip it through the thread hole and the bobbin hole and tie a bow!
This saves having to eat too many Blizzards 🙂
My scales would have thanked you if I knew about your method first, Lynn!