 Yesterday I talked about my experience trying out Steady Betty, a foam pressing surface that is ideal for pressing pieced quilt blocks and tops. I like how the foam grips the fabric so it doesn’t slide around when pressing the block, and I also like how flat the seams are afterwards. After trying it out for a while, I decided I liked it enough to create a more permanent pressing surface next to my machine.
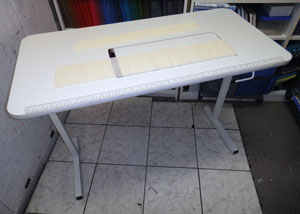
I used my old portable sewing table as my base. I put a couple pieces of non-slip rug pads on top to help keep things from sliding around.
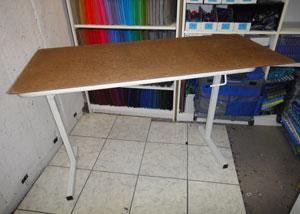 I found a piece of Masonite board and asked a friend of ours to cut it 20″ wide, the width of my table. At 20″ wide, I can press an entire fat quarter without moving it. My board was already 48″ long and I decided to keep it that length so I would be able to press a full width of fabric at one time.
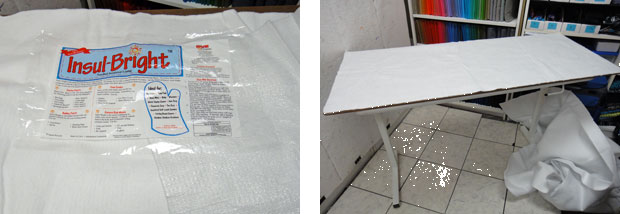 Next, I found a piece of Insul-Bright batting in my studio. It is a special batting that reflects heat back towards the heat source. I thought that might be a good idea for a pressing surface, so I cut a piece the size of my Masonite board.
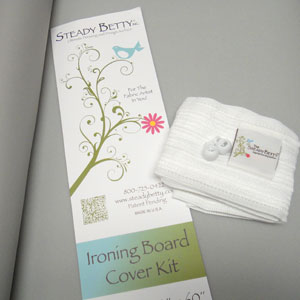 Next I got out my Steady Betty Ironing Board Cover Kit. It comes with one big, rectangular piece of foam padding, a length of loosely woven band that has draw strings woven into it, and a couple of cord stops.
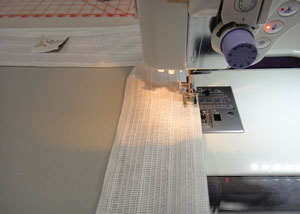 Making the cover was as easy as sewing the drawstring band around the perimeter of the foam.
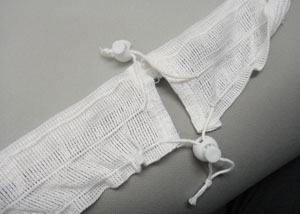 I finished off the ends of the drawstring band and added the spring-loaded stops. Then I placed the cover on by board-topped table and pulled the drawstrings. Once the cords were tight enough, I secured the cord stops and my new pressing surface was ready.
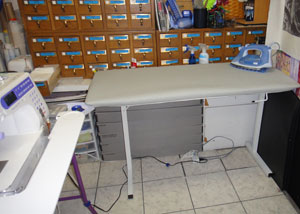 Because all of my materials were gathered and ready to go, it probably took less than an hour to make this pressing surface while also watching a movie with my husband. I’d say a beginner with basic sewing skills should be able to do this without much difficulty.
The bonus for me was that I could make it just the right size so that it would fit my table that just barely fits into my admittedly cramped studio. I’m willing to put up with small spaces so I can have a big pressing surface to the right of my sewing machine. With my wheeled chair, I can easily shift between the sewing machine and the ironing table and back again, which makes everything go faster.
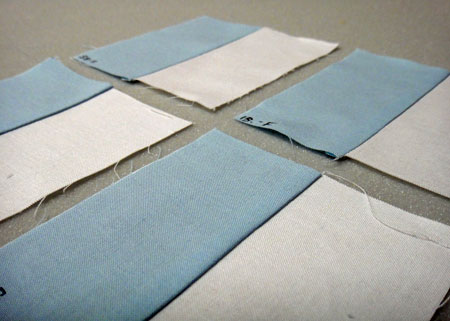
- From the front on Steady Betty (in the 12 o’clock position)
- From the front on a regular ironing board (in the 3 o’clock position)
- From the back on a regular ironing board (in the 6 o’clock position)
- From the back on Steady Betty (in the 9 o’clock position)
It was difficult to photograph so you can see the differences well, but I found the best way to compare the seams was to look at the shadows they create. On both the Steady Betty and the regular ironing board, pressing from the front using the iron to spread the fabric apart and flattening the seam was definitely better than pressing from the back. (Compare the pieces in the 12 o’clock and 3 o’clock positions to the other two.) Of the two seams pressed from the front, the seam pressed open on Steady Betty was a little flatter. It is debatable whether there is a significant difference or not. Maybe if that was the only advantage to using the Steady Betty I might not bother using it, but I also like the way the foam surface grips the fabric so it doesn’t slide around, so for me it is worth using. Their website mentions that the surface stays cooler to the touch as well, and now that I think about it, I’d say that’s true, too.