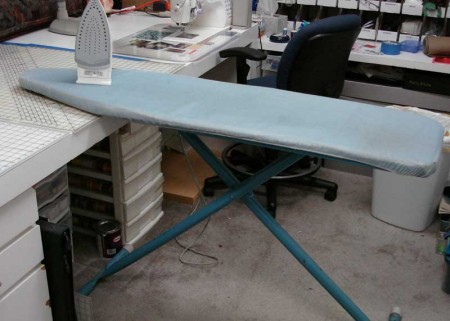
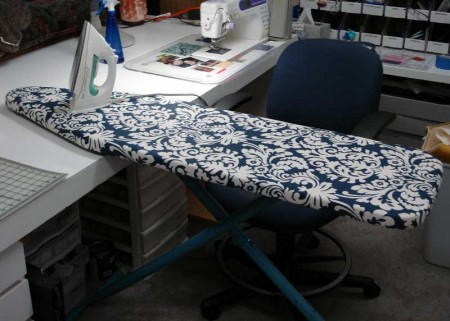
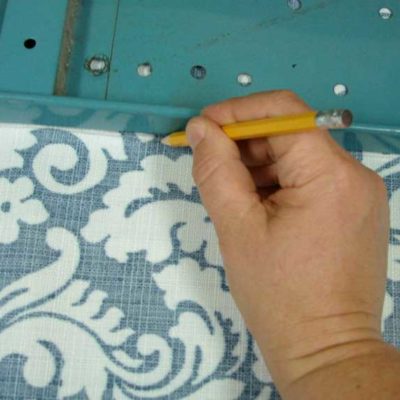
Step 1. Lay ironing board on top of fabric and trace around all sides.
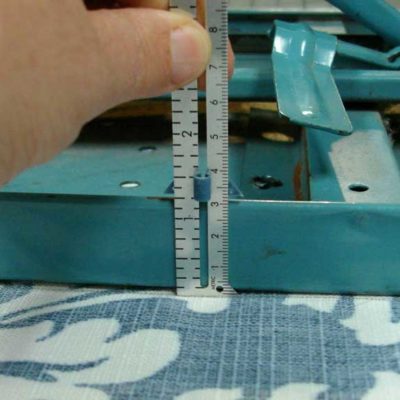
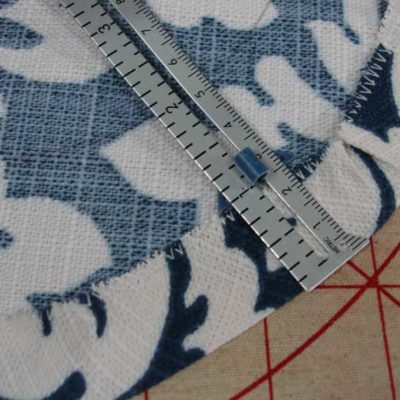
Step 2. Measure depth of your ironing board. Mine is 1-1/4″ deep.
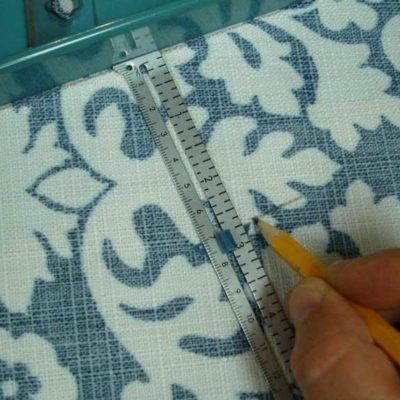
Step 3. To the depth measurement, add about 1-1/2″ and draw a second line that distance away from your first line.
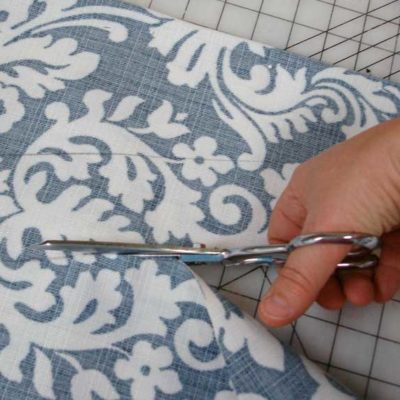
Step 4. Cut.
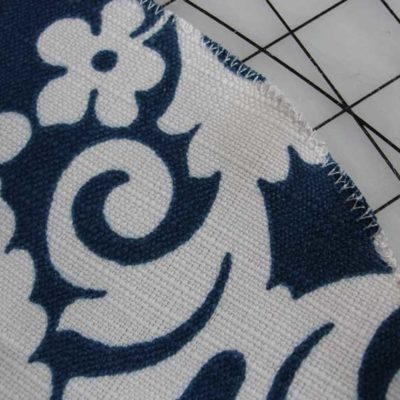
Step 5. Zigzag stitch around the edge.
Step 6. Press under about 1″.
Step 7. Okay, this is where I started getting excited and I forgot to take pictures. Take your string and nestle it into the fold, and then stitch about 5/8″ away from the folded edge. Continue all the way around your cover.
Step 8. Lay cover on top of the board and pull the drawstring tight. Tie securely and you’re done!
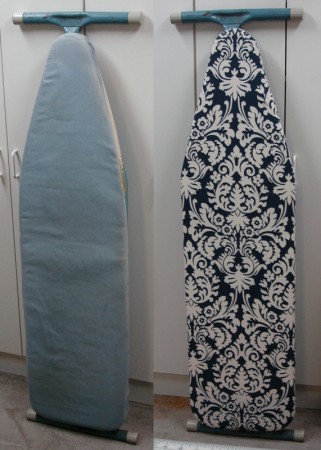
I think now I need to spray paint the metal legs, too.
Comments
4 responses to “Tutorial: fun, new ironing board cover”
I want to add that, if I were to make another ironing board cover, I would prefer a little more fabric on the underside once the drawstring is pulled. I would either add 1/2″ extra fabric in Step 3, or fold under less than an inch in Step 6.
Ohhhhh that is sooo nice!!!
Your last sentence…”I think now I need to spray paint the metal legs, too.” made me think of the book, “If You Give a Mouse a Cookie”. After you paint the metal legs, what will you think of next?
Well…I was thinking that I have enough of the same fabric left that I could cover my chair…
Maybe six or seven years ago I bought that chair for myself for Christmas. Only a couple days after I got it, we had candlelight service — back then we crowded everybody into our home. The person who sat in that chair dripped candlewax on it, and I never could get it out. So, recovering the chair *could* be another project down the road…
isn’t it fun …..I mean if you have to iron might as well do it in style. I’ve made about ten of them and keep then in a bin. I change mine often because of starch buildup, etc. I’ve actually given them as gifts to my non sewing friends and have always had requests for more. Have you seen what’s on the market….no wonder no one irons cloths anymore.