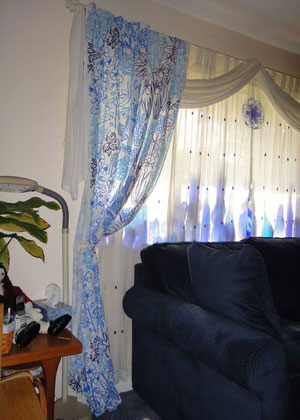
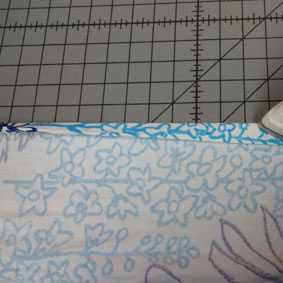
I haven’t been doing much quilting lately, but I wanted to do some kind of sewing. Thursday I woke up and immediately thought, “I should sew curtains for my living room.” Why did that thought pop into my mind? I have no idea, but back in August 2011 I bought some Ikea fabric on clearance for just $2.99 a yard. At the time, I thought I would like it as curtains. To the left is the picture I took when I was thinking of it, but I was busy with other things at the time, so I just folded it up and stuck it on the shelf.
Two days ago, it was sitting right where I left it three years ago, so I pulled it out and started measuring and planning. But after breakfast, I got a call from a friend from church who was in labor and needed help, so DD#2, Hazel and I went to the hospital to help out. The project would wait another day. Babies always come first!
Friday was terribly cold here, so it was a perfect day to stay indoors. I was determined to finish the curtains before I went to bed, so I got to work early.
I prefer a fairly casual look, so had I decided to make back tab curtains. I’ve seen a lot of different tutorials on ways to create the back tabs using fabric loops or ribbon, but there really is a simpler way — simply use Dritz’s Rod Loop Tape.
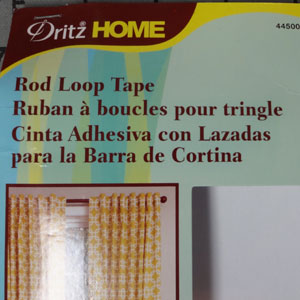
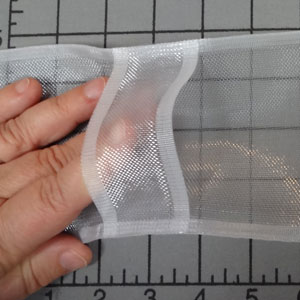
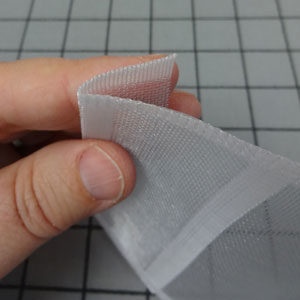
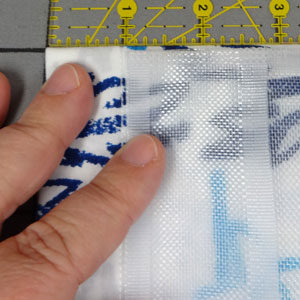
It is a semi sheer, synthetic, woven tape about 4″ wide and every 8″ there are tabs built into it. Using this also gives extra body to the top edge of the fabric so your curtains won’t sag, but will stand out in nice, round curves.
Here’s a short tutorial for making back tab curtains. These are very quick, easy, and should only take a few hours.
- Determine length of curtain and add 8″ for top edge and 8″ for bottom edge. Since this was a standard weave cotton fabric, I tore the fabric to size to keep the edges straight.
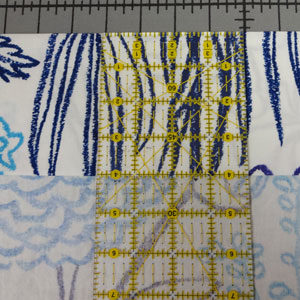
- In this package, the Rod Loop Tape comes 6 yards long. I cut my tape in four equal pieces. Then I measured from the loop on the farthest left to the loop on the farthest right, wrote down that measurement and added 6″. This would allow for a 1″ double hem on each side and give an extra inch on each side for positioning Rod Loop Tape. I tore my fabric to that width.
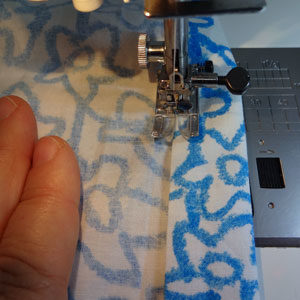
- Press under 1″ along each side. Fold back another 1″ and press. Stitch close to folded edge.
- Press under 4″ along the top edge. Fold back another 4″ and press.
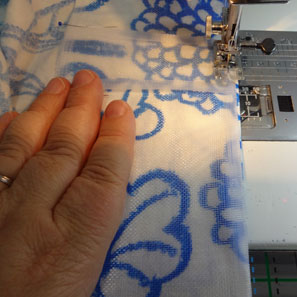
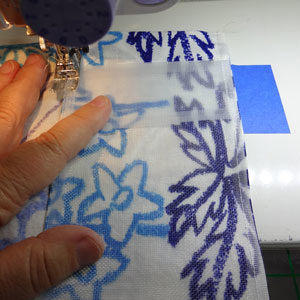
- Center Rod Loop Tape over 4″ hem and pin. Each loop should be 1″ from the sides of the curtain. Stitch along top and bottom edges of Rod Loop Tape.
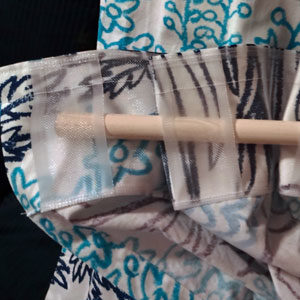
- Slide curtain rod through the loops and hang curtain. Check the length and adjust, if necessary.
- Press under a double hem along bottom edge. I allowed 8″, so my curtains have a 4″ double hem.
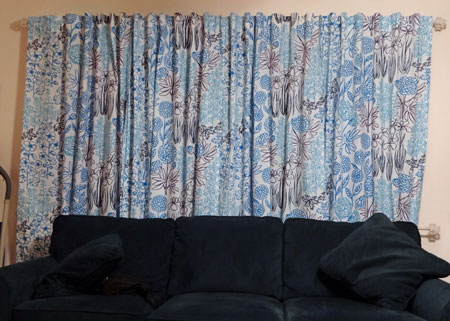 Hang finished curtains and enjoy! I love how the Rod Loop Tape gives such beautiful, soft folds. So much nicer than they would have been without it.
I found my Rod Loop Tape at a discount on Amazon.com, so if you have curtains on your “To-Do” list, you might consider using it. These curtains were so fast to make!
I’m going back to Ikea next week to find some new sheer curtains to hang underneath, so for now my new curtains remain closed.
Comments
5 responses to “Finally — curtains!”
Very nicely done! I have not seen this type of product until now. Great idea and I will try to find this. I just moved, and haven’t made new curtains yet, but your project turned out great. Thanks for sharing.
Thanks, Celia! Here is the product I used:
http://www.amazon.com/Dritz-Home-6-Yard-Header-8-Inch/dp/B00DV8XH8K/ref=sr_1_cc_1?s=aps&ie=UTF8&qid=1416833967&sr=1-1-catcorr&keywords=rod+loop+tape
This rod pocket is just what I need! I too have living room drapery fabric languishing in my sewing stash, bought 3 years ago. I even repainted the walls to go with the fabric. And I need a break in December from sewing quilts. Thanks for posting.
I’ve always loved your beaded sheers. I think they look nice under your new curtains. Why can’t they stay? : )
Long story, Laura. When I stacked my blue bottles, I used Museum Putty to hold them together. I the hot sun, it melted all over the curtains and then yellowed. I tried getting out the stains, but they wouldn’t budge and actually looked worse. At that point I figured it was a lost cause and I decided I had gotten my money’s worth, so it was time to replace them.